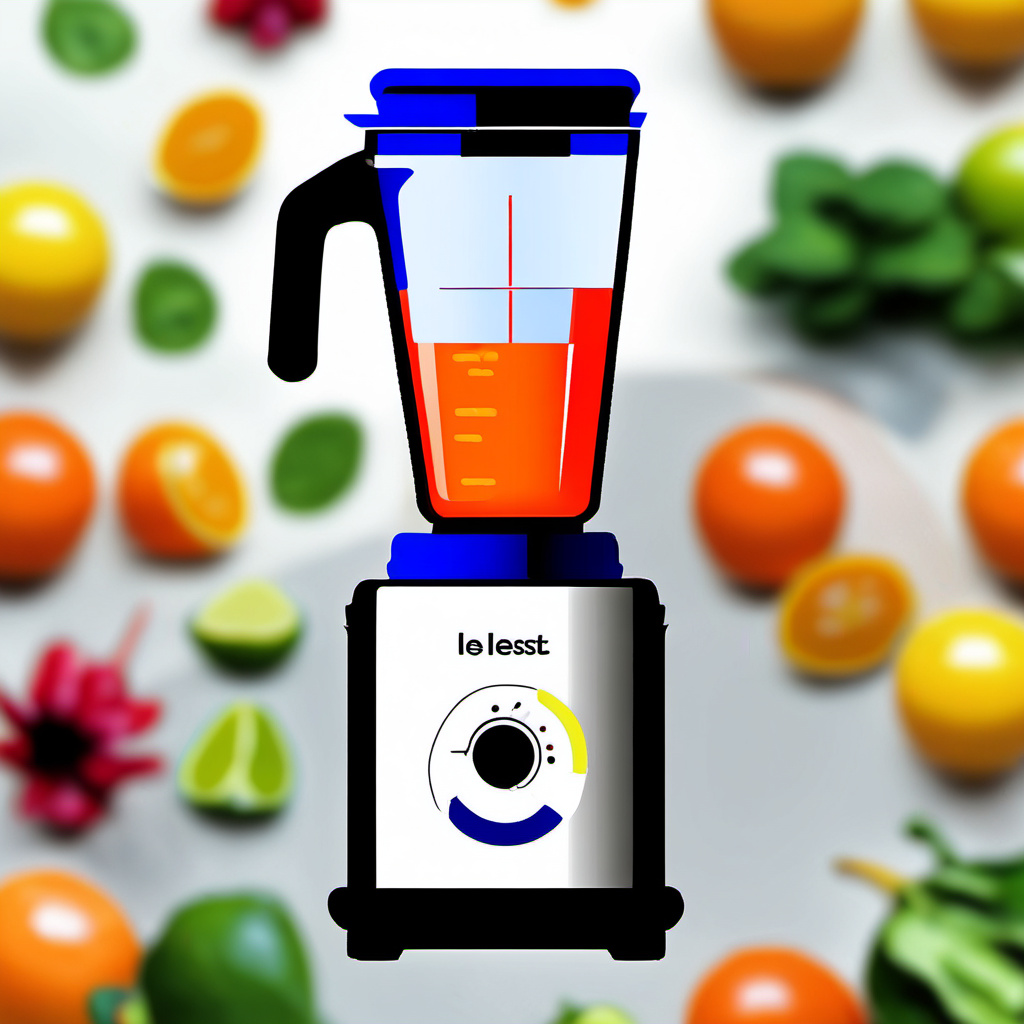
Finding the right blender is often the difference between a daily habit that sticks and a countertop appliance that gathers dust. Whether you are a fitness enthusiast needing high-speed pulverization for fibrous greens, a parent preparing quick school-morning smoothies, or a culinary hobbyist looking to craft silky soups and nut butters, your choice of blender significantly impacts your kitchen efficiency. This guide explores the technology, power, and practical utility behind today’s top blender models, categorized by budget and lifestyle needs.
Key takeaways
- Prioritize consistent torque over peak horsepower to ensure the motor can handle tough ingredients without stalling.
- Use a liquid-first loading method to create a vortex and prevent air pockets during the blending process.
- Select blade types based on your goals: blunt blades for pulverizing smoothies and sharp blades for chopping.
- Extend your blender's lifespan by hand-washing jars to protect seals and avoiding heavy-duty use beyond duty cycles.
- Use a tamper or stop to scrape down sides if cavitation occurs, ensuring an even, silky consistency.
Understanding Blender Power and Blade Technology
The core of any blender is its motor and blade assembly. When evaluating blenders, ignore the marketing hype surrounding “peak horsepower” and focus on consistent torque. High-performance blenders often feature motors that can reach 1,200 to 1,500 watts, allowing them to break down tough cell walls in kale, frozen fruit, and seeds. Conversely, entry-level models often rely on high-speed blade rotation rather than brute force, which can lead to friction-induced heating or stalling when processing thick mixtures like hummus or nut butter. Understanding the difference between a pulse function and a variable speed dial is also crucial; variable speeds offer the control needed to emulsify dressings, while pulse functions are ideal for chunky salsas or chopping vegetables without turning them into a puree.
The High-Performance Tier: Professional Grade for Serious Kitchens
For those who prioritize longevity and versatility, professional-grade blenders are an investment in kitchen infrastructure. Brands like Vitamix and Blendtec dominate this space, offering long-term warranties and the ability to process almost any ingredient. These machines are designed for the daily user who makes green smoothies, hot soups, and homemade nut flours. The primary benefit here is the texture; high-performance blenders create a “silky” consistency that cheaper models simply cannot replicate. These units are often taller, so measure your cabinet clearance, and they are louder due to the sheer power of their motors. However, the trade-off is a machine that will likely last for over a decade with regular maintenance.
Budget-Friendly Workhorses: Value without Compromise
You do not need to spend upwards of five hundred dollars to achieve a decent fruit smoothie. The mid-range market, dominated by brands like Ninja and NutriBullet, offers excellent value for the casual user. These blenders often feature a “personal blender” design, where the blending vessel doubles as a travel cup. This is an ideal setup for students, busy professionals, or anyone with limited kitchen space. While they may struggle with extremely thick, low-liquid recipes, they are more than capable of handling frozen berries, yogurt, and protein powders. Look for models with at least 900 watts of power to ensure they can handle frozen ingredients without burning out the motor.
Compact Solutions for Small Spaces
If you live in a studio apartment or have a kitchen with minimal counter space, a full-sized blender might be an impractical luxury. Compact, high-torque blenders have evolved significantly, offering small footprints without sacrificing significant power. These units are perfect for single-serve portions, preventing the food waste that often occurs when using a large 64-ounce pitcher for a single serving. Look for models that emphasize “twist-and-blend” functionality, which reduces the number of parts you need to clean. These are particularly effective for those whose primary goal is post-workout protein shakes or quick morning fruit smoothies.
Features That Actually Matter: Controls and Cleaning
When shopping, prioritize features that enhance usability. A “self-cleaning” mode is more than a gimmick; by adding a drop of dish soap and warm water, these cycles can clean the blades and jar walls in under a minute, which is vital for busy lifestyles. Consider the material of the jar as well. BPA-free plastic is lightweight and shatterproof, making it safer for families with children, while glass jars are non-porous and do not absorb odors, though they are heavier and susceptible to thermal shock. Look for tactile controls—buttons or knobs—over touchscreens, as they are often more durable and easier to operate with wet hands.
Maintenance and Longevity Tips
To extend the life of your blender, never overfill the container, as this forces the motor to work harder to circulate the ingredients. Always add liquids first to create a vortex, which pulls ingredients down into the blades. If you notice your blender starting to struggle or smell like ozone, stop immediately and add more liquid. Regarding blade care, avoid putting blender jars in the dishwasher if possible, as the high heat and harsh detergents can degrade the seals and dull the blade edges over time. Hand washing with a soft sponge is the best way to ensure your investment remains sharp and functional for years to come.
Choosing Based on Your Specific Diet
Your dietary habits should dictate your purchase. If you follow a plant-based diet, you will likely need a blender capable of making nut milks and cashew creams, which requires high blade speed and a tight lid seal to prevent leaks. If you prefer hot soups, ensure the pitcher is rated for heat; some plastic jars can warp or release chemicals when exposed to boiling temperatures. Conversely, if you are a smoothie enthusiast who uses a lot of frozen ingredients, focus on the durability of the blade assembly, as frozen fruit is one of the most common causes of premature blender failure in lower-end models.
Final Considerations: Noise and Aesthetics
Do not underestimate the noise factor. High-performance blenders are notoriously loud, often reaching decibel levels similar to a lawnmower. If you are an early riser who wants to make a smoothie while others are sleeping, look for models that include a sound shield or acoustic enclosure. Regarding aesthetics, modern blenders come in a variety of finishes, from brushed stainless steel to matte black and retro colors. While performance is paramount, choosing a machine that matches your kitchen decor makes it more likely that you will keep it on the counter, which in turn encourages daily use and healthier eating habits.
Advanced Texture Engineering: The Physics of the Vortex
Achieving a truly professional texture isn’t just about raw wattage; it is about fluid dynamics. The best blenders utilize a specifically engineered vortex that pulls ingredients down into the blade path continuously. If your ingredients are simply spinning around the outer walls of the jar, you are wasting energy and inviting heat buildup. To maximize this, look for containers with internal ribbing or a teardrop shape, which disrupts the circular flow and forces a vertical cycle. When blending heavy mixtures like dense hummus or thick nut butter, utilize a tamper—that plastic tool included with many premium models. It allows you to physically push ingredients into the blades without stopping the motor, preventing cavitation (the formation of air pockets) and ensuring an even, silky consistency that manual shaking can never achieve.
The Critical Role of Jar Geometry and Material Science
While motor power is the headline, the jar shape dictates the outcome. Low-profile, wide-base jars are excellent for high-volume processing and are easier to scrape out with a spatula, making them the gold standard for bakers and meal preppers. However, narrow, tall jars provide a more focused blending zone, which is superior for single-serve smoothies or crushing small quantities of spices. Regarding materials, Tritan copolyester has become the industry standard for high-end pitchers because it is virtually indestructible, BPA-free, and crystal clear. If you opt for glass, be wary of weight; a heavy 64-ounce glass pitcher is cumbersome to lift when full and poses a significant breakage risk if accidentally knocked against a granite countertop. Always inspect the gasket interface where the blade assembly meets the jar; a degraded or misaligned gasket is the number one cause of internal motor damage, as leaking liquid eventually seeps into the sensitive electrical components.
Navigating the World of Smart Blenders and Connectivity
Modern kitchen technology has introduced “smart” blenders that sync with mobile apps or feature pre-programmed cycles based on RFID tags. While this sounds like an unnecessary luxury, the utility lies in consistency. For someone following a specific nutritional plan, smart blenders can automatically adjust speed and duration based on the ingredients detected in the jar, ensuring that a kale smoothie is pulverized for exactly the right amount of time to eliminate fibrous bits without heating the liquid. These machines often include built-in scales, allowing you to measure ingredients directly into the jar, which eliminates the need for extra measuring cups and reduces cleanup time significantly. This is an invaluable feature for those who track macros or follow complex recipes where precision is paramount.
The Hidden Cost of Noise: Decibel Management
For many, the high-pitched whine of a blender is a deterrent to early morning usage. Beyond the sound-dampening enclosures mentioned earlier, consider the placement of the blender on your counter. A simple anti-vibration mat or even a thick silicone trivet placed under the motor base can significantly reduce the structural noise transmitted through your cabinets and floorboards. This “decoupling” technique is a favorite trick of professional baristas and cafe owners. Additionally, pay attention to the “start-up” torque; some blenders feature soft-start motors that ramp up speed gradually. This not only prevents the physical “jump” of the jar on the counter but also reduces the sudden, sharp burst of noise that occurs the moment you hit the power button.
Optimizing for Fermentation and Raw Food Prep
If your lifestyle leans toward raw veganism or advanced gut-health protocols, your blender needs to handle more than just smoothies. Preparing raw nut “cheeses” or fermented seed sauces requires a blender that can maintain a consistent speed at low RPMs for extended periods. Most consumer blenders are designed for short 30-60 second bursts; running them for five minutes to create a smooth almond butter can cause the motor to overheat and trigger a thermal shut-off. If you plan to make large batches of nut butter or long-duration purees, look for commercial-rated motors with active cooling fans. These machines are designed to run for ten minutes or more without strain, ensuring the longevity of the motor coils and protecting your investment from internal burnout.
The Science of Blade Geometry: Cutting vs. Pulverizing
Not all blades are created equal, and understanding the profile of your blade assembly can change how you prepare your ingredients. High-speed blenders often use blunt, hardened steel blades that rely on sheer impact velocity to pulverize ingredients, effectively shattering cell walls rather than slicing through them. This is ideal for fibrous kale or tough root vegetables. In contrast, blenders with sharp, serrated edges act more like a food processor, which is superior for tasks like chopping nuts or herbs where you want distinct pieces rather than a fine powder. If you prioritize salsa or chunky vegetable soups, seek out models with blades designed for cutting; if your primary goal is the smoothest possible green smoothie, look for blunt, hammer-style blades that favor force over sharpness.
Managing the Motor Burnout Threshold
Every blender has a “duty cycle,” which refers to how long it can run before the motor requires a cooling period. Entry-level blenders often have a very short duty cycle, sometimes as little as 30 to 60 seconds of continuous operation. Overloading the motor with thick, viscous ingredients like peanut butter or heavy doughs can cause internal heat to build up faster than the cooling fan can dissipate it. To protect your machine, learn to listen for the “pitch shift”—a change in the motor’s hum that indicates it is struggling. If you frequently perform long-run tasks, such as creating hot soups via friction or long-duration nut butters, ensure your model features an integrated thermal protection sensor that safely powers down the unit before the windings melt, rather than forcing you to rely on guesswork.
The Ergonomics of Container Design
The usability of a blender is often dictated by the pitcher’s handle and lid mechanism. A heavy 64-ounce pitcher filled with liquid can be difficult to maneuver if the handle is poorly balanced or ergonomically thin. Look for pitchers with “soft-touch” grips that reduce wrist strain, especially if you have mobility issues or arthritis. Additionally, consider the lid’s locking system. Some premium blenders use a simple friction-fit lid, which is easy to remove but requires a firm hand, while others use a locking clip mechanism. A locking clip provides an extra layer of safety, particularly when blending hot liquids, as it prevents the lid from popping off due to steam pressure buildup. Always test the lid’s seal; a high-quality gasket should feel snug and secure, preventing the “leak-at-the-base” issue that is common in cheaper plastic pitchers.
Integrating Blending into Meal Prep Workflows
To maximize your blender’s utility, treat it as a prep tool rather than just a drink machine. Many high-performance blenders can replace a food processor for tasks like making breadcrumbs, grating hard cheeses, or even emulsifying homemade mayonnaise. By using the pulse function in short, rhythmic bursts, you can achieve a consistent chop without turning your ingredients into a puree. For those who meal prep, consider buying an extra jar. Having a dedicated dry-goods jar (for grains, spices, or coffee beans) and a wet-goods jar (for smoothies, soups, and sauces) keeps your blades sharp for longer, as the abrasive nature of dry blending can dull edges over time. Keeping these jars organized in your pantry turns your blender into a multi-station kitchen hub.
Troubleshooting Common Cavitation Issues
Cavitation is the most common frustration for new blender owners, occurring when a pocket of air forms around the blades, causing the ingredients to stop circulating. This is almost always a result of poor ingredient layering. To prevent this, follow the golden rule of liquid-first loading: add your liquids (water, milk, yogurt) first, followed by soft ingredients like greens, then fruits, and finally frozen items or ice on top. The weight of the frozen items helps push the softer contents into the blades as they begin to rotate. If you are blending something particularly thick, such as a smoothie bowl, do not be afraid to stop the machine, use a spatula to scrape down the sides, and restart. A stubborn air pocket is a sign that the mixture is too thick to sustain a vortex, so add a splash more liquid to ensure the motor can maintain its momentum.
The Impact of Variable Speed vs. Pre-Programmed Cycles
The debate between manual variable speed control and pre-programmed settings often comes down to user preference. Manual variable speed dials offer total control, allowing you to start slow to prevent ingredients from splashing and then ramp up to high speed for a smooth finish. This is essential for culinary techniques like emulsifying oil into a dressing, where speed needs to be adjusted incrementally. Conversely, pre-programmed settings are designed for the “set it and forget it” user. These cycles are engineered to vary the speed automatically, effectively “shaking” the ingredients down into the blades at specific intervals. If you are a busy parent or a professional trying to multitask, pre-programmed cycles provide a predictable, consistent result every time, reducing the need to stand over the machine and adjust the speed manually.
Frequently Asked Questions
Q: How much power do I actually need for daily smoothies? A: For daily fruit and protein smoothies, a motor with 600 to 900 watts is sufficient. If you frequently blend fibrous vegetables like kale, spinach, or frozen chunks, aim for at least 1,000 watts to ensure a smooth texture without chunks.
Q: Is it worth buying a refurbished professional blender? A: Yes, many high-end brands offer factory-refurbished units that come with a limited warranty. This is an excellent way to acquire a top-tier machine for a significantly lower price, often saving 30-40% off the retail cost.
Q: Can I use a regular blender for hot liquids? A: Only if the manufacturer explicitly states the jar is heat-resistant. Blending hot liquids creates steam pressure that can blow the lid off a standard pitcher, causing severe burns. Always leave the center cap slightly ajar to allow steam to escape if you must blend hot items.
Q: What is the benefit of a vacuum blender? A: Vacuum blenders remove air from the container before blending. This prevents oxidation, which keeps smoothies brighter in color and prevents them from separating as quickly. It is a niche feature but great for those who prep their drinks in advance.
Q: How do I know if my blender blades are dull? A: If your blender is struggling to process ingredients it once handled easily, or if you notice the consistency of your smoothies has become grainy, the blades are likely worn. While some models allow for blade replacement, many modern high-performance jars require the entire pitcher assembly to be replaced when the blades fail.
Related posts:
 Smoothie Reality Check: Are Your Healthy Drinks Actually Healthy?
 Second Life Magic: Turn Finished Candles Into Morning Coffee Companions
 Make-Ahead Vegan Savory Breakfast Jars
 Healthy Frozen Banana Desserts
 Finding the Best Portable Blender for On-the-Go Smoothies
 Vitamix Cyber Monday Savings Guide
 How to Clean Turmeric Stains from Blenders
 The Best Liquid Eyeshadows That Stay Put All Day Long