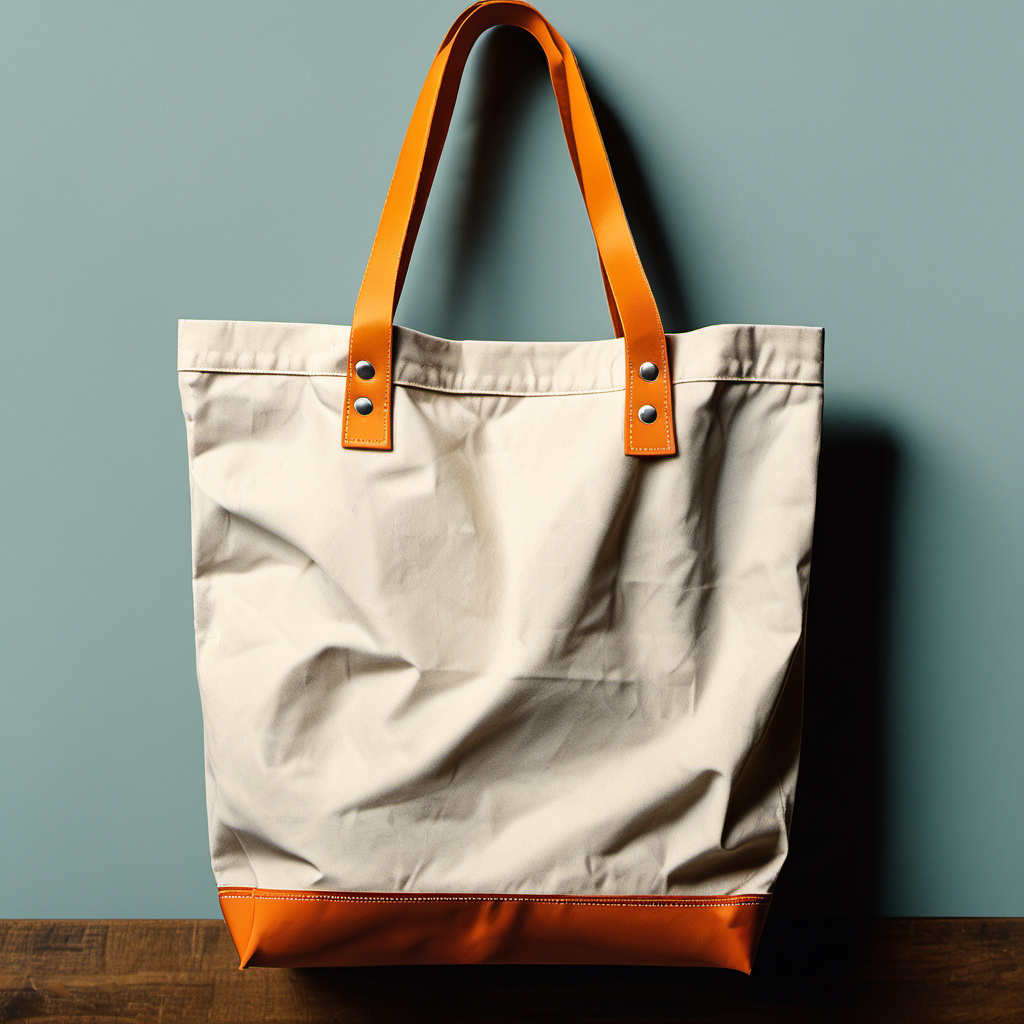
The canvas tote bag has evolved from a simple grocery hauler into a quintessential lifestyle accessory. Whether it is your favorite souvenir from a seaside bookshop, a high-end designer piece, or a reliable companion for your daily commute, a tote bag often carries more than just your belongings—it carries memories. However, because we use them so frequently and in so many different environments, they are prone to collecting everything from coffee spills and ink leaks to general city grime. Cleaning a canvas bag might seem straightforward, but the heavy-duty nature of the fabric combined with its tendency to shrink or lose shape makes it a delicate operation. This guide will walk you through the comprehensive process of rescuing your canvas favorites, ensuring they remain vibrant and structural for years to come.
Understanding Your Canvas: The Science of the Fabric
Before you introduce water or soap to your bag, it is essential to understand what canvas actually is. Most tote bags are made from heavy-duty cotton or a cotton-poly blend. Cotton is a natural fiber that is highly absorbent, which is why stains settle in so deeply. Canvas is typically woven in two ways: plain weave or duck canvas. Duck canvas is more tightly woven and durable, but it is also more prone to showing “cracks” or white lines if folded or agitated too harshly during cleaning.
The primary challenge with cleaning canvas is its relationship with moisture. Cotton fibers swell when wet and contract as they dry. If this process happens too quickly—such as in a high-heat dryer—the bag will shrink significantly and lose its original silhouette. Furthermore, many tote bags feature screen-printed designs, embroidery, or leather accents. Each of these elements reacts differently to cleaning agents. Before starting, always perform a “bleed test.” Dampen a small, inconspicuous area of the bag (like the inside bottom corner) and press a white paper towel against it. If any color transfers to the towel, the dyes are not colorfast, and you must avoid soaking the bag entirely, opting instead for very careful spot cleaning.
Pre-Cleaning Preparation and Assessment
Success in cleaning starts long before the bag hits the water. Begin by emptying every pocket. It sounds obvious, but a stray ballpoint pen or a forgotten piece of candy can turn a routine cleaning into a disaster once it dissolves in water. Turn the bag inside out and use a vacuum attachment or a lint roller to remove crumbs, dust, and lint that accumulate in the seams. This debris can become “mud” if it gets wet, making the cleaning process much harder.
Next, identify the types of stains you are dealing with. Oil-based stains (like makeup or food) require a different approach than protein-based stains (like perspiration or grass) or pigment-based stains (like ink). If your bag has structural inserts, such as a cardboard bottom common in some grocery totes, remove it if possible. If the insert is sewn in, you will need to avoid submerging that area to prevent the cardboard from disintegrating. Finally, check the hardware. If your tote has brass eyelets or steel zippers, these may need to be dried immediately after washing to prevent rusting or tarnish from staining the surrounding fabric.
The Golden Rule of Spot Cleaning
For most canvas bags, spot cleaning is the safest and most effective method. It minimizes the risk of shrinkage and protects the integrity of the weave. To spot clean effectively, you will need a mild detergent (such as a clear dish soap or a dedicated fabric cleaner), a soft-bristled brush (an old toothbrush is perfect), and two clean microfiber cloths.
Start by creating a solution of lukewarm water and a few drops of detergent. Dip your brush into the solution and gently work it into the stained area using circular motions. Avoid scrubbing aggressively, as this can “pill” the fabric or cause the dye to fade in that specific spot. Once the stain has been lifted, take a clean cloth dampened with plain water and “rinse” the area by dabbing. It is crucial to remove all soap residue, as leftover soap can attract more dirt once the bag is dry. Finally, use a dry cloth to blot up as much moisture as possible. By keeping the moisture localized, you prevent the water rings that often form when a single spot on a canvas bag gets wet and then dries slowly.
Hand Washing for a Deep Clean
If your bag is generally dingy or has odors that spot cleaning cannot address, a full hand wash is the next level of intervention. Fill a clean basin or sink with cool to lukewarm water. Avoid hot water at all costs, as it is the primary cause of cotton shrinkage. Add a small amount of gentle laundry detergent—ideally one that is pH-neutral and free of dyes or perfumes.
Submerge the bag and let it soak for about 10 to 15 minutes. This allows the detergent to penetrate the thick canvas fibers. After soaking, use your hands to gently agitate the bag in the water. Pay extra attention to the handles and the bottom, as these areas typically harbor the most oils and dirt. If there are stubborn spots, use your soft brush to give them a second pass. When you are finished, drain the soapy water and refill the basin with fresh, cool water. Rinse the bag repeatedly until no more suds appear. Do not wring or twist the bag to remove water; this can permanently distort the shape and break the fibers. Instead, lay the bag flat on a clean, white towel, roll the towel up like a sleeping bag, and press down firmly to absorb the excess moisture.
Mastering the Machine Wash (If You Must)
While hand washing is preferred, some heavy-duty canvas totes can handle a washing machine. However, this should only be done if the bag is 100% cotton and does not have delicate prints, leather trim, or intricate embroidery. If you decide to machine wash, turn the bag inside out to protect the outer surface and any printed graphics. Place the bag inside a mesh laundry bag to prevent the straps from getting tangled around the agitator.
Use the “delicate” or “hand wash” cycle on your machine. Ensure the water temperature is set to cold. Use a minimal amount of detergent; canvas is very porous and holds onto soap, so less is more. Never include the bag in a load with heavy items like jeans or towels that could beat against the canvas and cause abrasions. Once the cycle is complete, remove the bag immediately. Leaving a wet canvas bag in the washing machine can lead to musty odors and deep-set wrinkles that are nearly impossible to remove later.
Tackling Stubborn Stains with Home Remedies
Sometimes, standard detergent isn’t enough for specific mishaps. For oil and grease stains, such as those from a dropped piece of pizza or a leaking lip balm, apply a small amount of cornstarch or talcum powder to the area and let it sit for several hours. The powder will draw the oil out of the fibers. Afterward, brush it away and proceed with a spot clean. For ink stains, a small amount of isopropyl (rubbing) alcohol on a cotton swab can work wonders. Dab the ink from the outside in to prevent it from spreading, and keep a paper towel underneath the fabric to catch the dissolved ink.
If your white or light-colored canvas bag has developed a yellowish tint over time, avoid using chlorine bleach, which can weaken the fibers and actually cause more yellowing. Instead, create a paste of baking soda and water, or use a diluted solution of hydrogen peroxide (test a small area first). For organic stains like grass or blood, white vinegar mixed with water can help break down the proteins. Always remember to rinse the treated area thoroughly with fresh water after using any of these home remedies to ensure no chemical residue remains to react with sunlight.
The Drying Process: Patience is Key
The drying phase is where most people ruin their canvas bags. Never, under any circumstances, put a canvas tote bag in a mechanical dryer. The high heat and tumbling action will almost certainly cause the bag to shrink, often unevenly, leaving you with a distorted version of your favorite accessory. Instead, air drying is the only way to go.
After removing the excess water with the towel-roll method mentioned earlier, reshape the bag while it is still damp. Pull the seams straight and flatten the bottom. To help it keep its shape and speed up the drying process, you can stuff the bag with clean, dry white towels. This prevents the sides from collapsing and sticking together, which can lead to mold or mildew. Hang the bag by its handles in a well-ventilated area away from direct sunlight. While sunlight can help bleach white bags, it will quickly fade colored canvas and can make the fibers brittle. Ensure the bag is 100% dry before storing it; even a tiny amount of moisture trapped in the thick seams can lead to a lingering damp smell.
Restoring Shape and Ironing
Once your bag is dry, it might look a bit “crispy” or wrinkled. This is a natural reaction of cotton canvas to being washed. To restore its soft hand and professional look, you can iron the bag. Set your iron to the cotton setting with plenty of steam. If the bag has a screen-printed design, iron it on the reverse side or place a thin pressing cloth (like a clean pillowcase) between the iron and the bag. This prevents the heat from melting or peeling the graphic.
For bags that have lost their structural integrity, you can use a bit of fabric starch while ironing to give them back that “new bag” stiffness. Focus on the corners and the base. If the handles are floppy, iron them flat to make the bag look refreshed. If you find that the bag has developed some lint or “pilling” after washing, a fabric shaver or a clean razor can be used very gently to shave off the fuzz, making the surface smooth again.
Long-Term Care and Preventive Maintenance
The best way to clean a canvas bag is to prevent it from getting dirty in the first place. Consider applying a fabric protector spray (like Scotchgard) to your bag when it is new or after a deep clean. These sprays create a hydrophobic barrier that causes liquids to bead up rather than soak into the fibers. This is particularly useful for light-colored bags that are prone to picking up dye transfer from denim jeans.
Store your tote bags properly when not in use. Avoid hanging them by the handles for long periods if they are heavy, as this can stretch the straps. Instead, fold them flat or stuff them lightly and place them on a shelf. If you use your bag for groceries, try to have a dedicated bag for produce and meats to prevent cross-contamination, and wash that specific bag more frequently. By treating your canvas totes with a little bit of respect and performing regular minor maintenance, you can ensure they remain a reliable part of your wardrobe for many years.
Managing Indigo Transfer and the Science of Crocking
One of the most common yet frustrating issues for canvas tote owners is the appearance of mysterious blue or grey smudges along the side of the bag that rests against the hip. This is known in the textile industry as “crocking,” where the dye from your denim jeans or a new dark coat physically rubs off onto the porous canvas fibers. Because canvas is highly abrasive, it acts like fine sandpaper, lifting pigment from your clothing. Unlike a standard dirt stain, indigo transfer involves deep-set pigments that require a specific approach to break the molecular bond between the dye and the cotton.
To combat indigo transfer, start with a dry intervention. A high-quality white gum eraser or a specialized suede eraser can often lift the surface-level pigment before it becomes embedded via moisture. Rub the eraser gently over the blue tint, ensuring you are not pilling the fabric. If the stain persists, you will need a surfactant-heavy cleaner. Mix a solution of cold water and a small amount of upholstery shampoo, which is formulated to lift dyes without spreading them. Use a microfiber cloth to dab the solution onto the area, working from the outside of the stain toward the center to prevent a “halo” effect. For extreme cases, a specialized “dye transfer remover” designed for delicate fabrics can be used, but always perform a patch test first, as these chemicals can occasionally lift the bag’s original color along with the indigo.
Hardware Maintenance: Protecting Zippers, Rivets, and Grommets
While the focus is often on the fabric, the metal components of a canvas tote—zippers, rivets, and grommets—require their own specialized care protocol. Metal hardware is susceptible to oxidation, especially if the bag is frequently exposed to humid environments or salt air. Brass hardware can develop a green film known as verdigris, while steel components may rust, leading to permanent orange-brown stains on the surrounding canvas that are nearly impossible to remove without damaging the fibers.
To maintain hardware, use a cotton swab dipped in a tiny amount of metal polish or even a paste of lemon juice and salt for brass. Be extremely careful to keep the polish off the canvas, as it can leave greasy residues. If your zipper has become stiff or “crunchy” due to salt or dirt buildup, do not force it. Instead, lubricate the teeth using a colorless wax, such as a specialized zipper stick or a small amount of beeswax. Avoid using oil-based lubricants like WD-40, as they will inevitably migrate into the canvas and create a permanent oil slick. For bags with magnetic snaps, ensure the internal magnets aren’t attracting fine metallic dust, which can scratch the finish; a quick wipe with a damp cloth followed by immediate drying with a soft towel is usually sufficient to maintain the luster and functionality of the closure.
Specialized Care for Mixed-Media Embellishments
Modern tote bags often feature a variety of embellishments, from iron-on patches and enamel pins to delicate embroidery and “puff” screen prints. Each of these additions changes the cleaning calculus. Enamel pins should always be removed before any cleaning process to prevent the metal backs from snagging the weave or the pin itself from rusting. If your bag features embroidered designs, be aware that the threads used (often rayon or polyester) may have different colorfastness than the canvas itself. Use a very soft-bristled brush to clean around the embroidery, as aggressive scrubbing can cause the decorative threads to fray or “loop.”
Screen prints, particularly the thick, rubbery plastisol variety, are prone to cracking over time, especially when exposed to the agitation of a washing machine or the heat of an iron. To clean a printed area, use a gentle dabbing motion with a damp cloth rather than a wiping motion. If the print has already begun to crack, avoid any localized heat, which can cause the edges of the print to peel further. For bags with “flocked” or velvet-textured lettering, a lint roller is your best friend. Avoid using any liquid cleaners on flocked areas if possible, as the adhesive holding the tiny fibers can dissolve, leading to bald spots in the design. If a deep clean is necessary, keep the water cool and the agitation to a minimum to preserve the bond of the embellishments.
Advanced Odor Neutralization and Microbial Hygiene
Canvas totes used for groceries, gym gear, or beach trips can become breeding grounds for bacteria and mold, leading to odors that persist even after a visual cleaning. Standard detergents often mask these smells rather than eliminating the source. For bags that have carried raw produce or damp towels, you must address the microbial load. While the existing guide mentions vinegar, a more robust solution for persistent odors involves the use of enzyme-based cleaners. These cleaners contain specific proteins that “eat” organic matter like sweat, food residue, and mildew spores.
If you prefer a natural approach, consider a botanical disinfectant. A few drops of tea tree oil or thyme oil added to your rinse water provides natural antifungal and antibacterial properties without the harshness of bleach. For bags that have developed a “sour” smell from being left damp, a dry treatment can be highly effective. Place the bag in a sealed container with a bowl of activated charcoal or volcanic rock desiccant for 72 hours. These materials have a massive surface area that traps volatile organic compounds (VOCs) responsible for the smell. This is particularly useful for vintage canvas bags that have a deep-seated “attic” smell that water-based cleaning hasn’t been able to reach.
Structural Restoration and Reinforcing High-Stress Points
A canvas bag’s utility is tied to its structural integrity. Over time, the heavy loads we carry can cause the handles to fray, the bottom to sag, or the seams to strain. Cleaning often highlights these weaknesses as the fabric softens. To restore the “heft” of a limp bag, you can use a heavy-duty fabric stiffener spray, but apply it only to the interior to avoid changing the texture of the outer bag. If the bottom of your tote has lost its shape, consider replacing the internal baseboard. Many manufacturers use cheap cardboard that disintegrates after the first wash; you can create a permanent, waterproof replacement by cutting a piece of thin flexible plastic (like a heavy-duty folder or a thin polyethylene sheet) to size and inserting it into the bottom.
Pay close attention to the “box stitch” (the X-patterned stitching) where the handles meet the bag. If you notice any loose threads after washing, do not pull them. Instead, use a needle and heavy-duty upholstery thread to reinforce the area. A small drop of clear fabric glue on the end of a knot can prevent future unravelling. If the canvas has developed a small hole or “thin spot” from abrasion, a discreet patch applied to the *inside* of the bag can prevent the hole from expanding. Use a piece of matching canvas scrap and a flexible fabric adhesive for a repair that maintains the bag’s silhouette without being visually obtrusive.
The Professional’s Toolkit: Tools Beyond the Toothbrush
While a toothbrush is a great starting point, a professional-level clean requires a more nuanced toolkit. For heavy-duty duck canvas, a horsehair brush is superior because the bristles are firm enough to dislodge dirt but soft enough not to abrade the cotton fibers. For the interior corners where dust and crumbs become compacted, a pressurized air canister (like those used for keyboards) can blast out debris that a vacuum cannot reach. This prevents the debris from turning into a staining paste when you introduce water.
Another essential tool is the garment steamer. While the existing article discusses ironing, a steamer is often safer for canvas bags with complex shapes or multiple layers. The steam penetrates the thick fibers, relaxing them without the direct heat of a metal plate that can scorch the fabric. When steaming, hold the nozzle about three inches away and use your other hand (wearing a heat-resistant glove) to pull the fabric taut. This is the most effective way to remove the deep “packing creases” that occur when bags are stored flat for long periods. Finally, keep a “crepe ribbon” (a textured rubber block) on hand for dry-cleaning the surface; it acts like a magnet for lint and surface-level grime, reducing the number of times you need to perform a full wet wash.
Environmental Protection: Adapting to Your Climate
The environment in which you live dictates the type of “grime” your bag accumulates. In urban environments, canvas bags act as filters for microscopic soot and pollution, which can give them a greyish cast over time. If you live in a city, a monthly wipe-down with a damp microfiber cloth is essential to prevent these particles from being ground into the weave. In coastal areas, the primary enemy is salt. Salt is hygroscopic, meaning it pulls moisture from the air, which can keep your canvas bag perpetually damp and prone to mold. If you use your bag at the beach, it is vital to rinse it with fresh water as soon as you return home, even if it doesn’t look dirty.
For those in high-humidity climates, storage is the biggest challenge. Never store a canvas bag in a plastic bin or a non-breathable bag, as this creates a microclimate that encourages fungal growth. Instead, use a cotton dust bag or even an old pillowcase. If you live in a particularly dry or sunny climate, be wary of UV degradation. Just as the sun bleaches your hair, it breaks down the chemical bonds in cotton dyes and fibers. If you must leave your bag in a car or by a window, turn it inside out so the interior takes the brunt of the UV exposure, preserving the vibrant exterior colors for as long as possible.
Frequently Asked Questions
1. Can I wash a canvas bag that has leather handles or trim?
You should never submerge a bag with leather components in water. Water strips the natural oils from leather, causing it to crack and discolor. Furthermore, the dyes from the leather can bleed into the canvas, creating permanent stains. For these bags, stick strictly to spot cleaning the canvas areas and use a dedicated leather cleaner and conditioner for the trim. If the canvas is extremely dirty, it is best to take the bag to a professional cleaner who specializes in mixed-material accessories.
2. How do I remove a musty smell from my canvas tote?
Musty smells are usually caused by bacteria or mold from the bag staying damp for too long. To eliminate the odor, you can mist the bag with a mixture of equal parts water and white vinegar (the vinegar smell will dissipate as it dries). Alternatively, place the dry bag in a large sealable bag with an open box of baking soda or some activated charcoal for 48 hours. These substances are excellent at absorbing odors without damaging the fabric.
3. My bag shrank after washing. Is there any way to fix it?
While it is difficult to fully reverse shrinkage, you can sometimes “stretch” the fibers back out. Dampen the bag slightly with cool water or a fabric steamer. While the fibers are warm and moist, gently but firmly pull the fabric in the directions you want it to expand. Stuff the bag tightly with towels to hold it in the stretched position while it dries. This won’t bring back every centimeter, but it can help restore the bag’s usable shape.
4. Is it safe to use bleach on a white canvas bag?
It is generally advised to avoid chlorine bleach. While it makes the bag white initially, it can lead to a yellow chemical burn over time and significantly weakens the cotton fibers, leading to holes. Instead, use an oxygen-based whitener (like OxiClean) or a natural alternative like lemon juice and sunlight. If you must use bleach, ensure it is highly diluted and rinse the bag multiple times to ensure every trace of the chemical is removed.
5. How often should I clean my tote bag?
The frequency depends on use. If you use it for groceries, you should spot clean it weekly and deep wash it once a month to prevent bacterial growth. For everyday fashion totes, a deep clean once or twice a year is usually sufficient, supplemented by immediate spot cleaning whenever a spill occurs. Regular lint rolling and shaking out debris will keep the bag looking fresh between washes.
Related posts:
 Baggu’s Best-Selling Canvas Tote Is a Sustainable Staple
 Irritation-Free Sweaters for Sensitive Skin
 Biggest Suitcases Review
 15 pretty yoga mat bags you won’t be embarrassed to tote around town
 Summer Bags We’re Loving
 How to Make Lip Stains Work Under Masks
 White Sneaker Cleaning Hack
 New York’s Plastic Bag Ban Is Finally Here and It’s Going to Change Everything