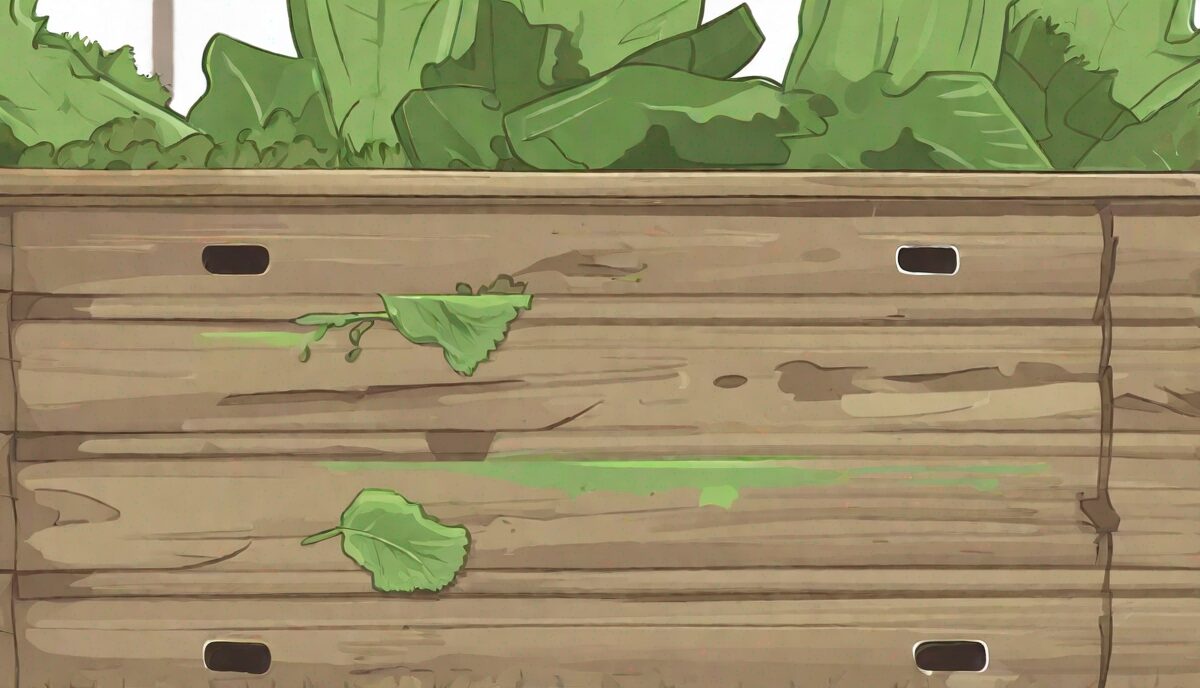
Composting is a fantastic way to recycle organic waste and create nutrient-rich soil for your garden. However, many people encounter problems that can turn this eco-friendly activity into a frustrating experience. In this article, we’ll discuss common composting mistakes and how to avoid them to ensure you get the most out of your compost pile.
1. Adding the Wrong Materials
One of the most common mistakes is adding materials that shouldn’t be composted. Items like meat, dairy products, and oily foods can attract pests and produce foul odors.
Solution:
- Stick to fruit and vegetable scraps, coffee grounds, eggshells, grass clippings, and leaves.
- Avoid adding meat, dairy, fats, and diseased plants.
2. Not Maintaining the Right Balance
Composting requires a balance of carbon-rich materials (browns) and nitrogen-rich materials (greens). A common mistake is having too much of one and not enough of the other, leading to slow decomposition and unpleasant smells.
Solution:
- Aim for a ratio of about 3 parts browns to 1 part greens.
- Examples of browns include dried leaves, straw, and cardboard. Greens include kitchen scraps and fresh grass clippings.
3. Ignoring Moisture Levels
Moisture is critical for composting. Too much water can lead to a soggy, smelly pile, while too little can halt the decomposition process.
Solution:
- Keep your compost pile as moist as a wrung-out sponge.
- If it’s too dry, add water or more greens. If it’s too wet, add more browns and turn the pile to aerate it.
4. Not Turning the Pile
Another frequent mistake is neglecting to turn the compost pile. Turning introduces oxygen, which is essential for the microorganisms that break down the organic matter.
Solution:
- Turn your compost pile every 1-2 weeks to aerate it.
- This will speed up the decomposition process and reduce odors.
5. Composting in the Wrong Location
The location of your compost pile can significantly impact its effectiveness. Placing it in a spot that is too shaded or too exposed can lead to problems.
Solution:
- Choose a location that gets partial sunlight and is well-drained.
- Avoid placing it too close to your house to prevent any potential odors from becoming a nuisance.
The Trap of Large Particle Sizes and Poor Surface Area
While the existing advice focuses on what to put in the pile, many gardeners overlook the physical state of those materials. Throwing a whole pumpkin, thick broccoli stalks, or entire branches into a bin is a recipe for a process that takes years rather than months. Decomposition is a surface-level phenomenon; bacteria and fungi work from the outside in. When you leave materials in large chunks, you drastically limit the surface area available for microbial colonization, leading to a pile that looks exactly the same six months later.
To avoid this stagnation, adopt a “shred first” policy. Kitchen scraps should be chopped into one-inch pieces. Woody stems and tough stalks, like those from sunflowers or corn, benefit from being crushed with a shovel or run through a chipper. For cardboard and paper, don’t just toss in a folded box; tear it into small strips or use a heavy-duty shredder. This increases the surface area exponentially, allowing moisture to penetrate the core of the material and providing more “entry points” for the microorganisms to begin their work.
An interesting edge case involves autumn leaves. While they are excellent “browns,” certain leaves like oak or sycamore are thick and waxy. If left whole, they tend to mat together when wet, forming an anaerobic (oxygen-deprived) barrier that prevents air from reaching the rest of the pile. Running a lawnmower over your leaf pile before adding it to the compost breaks these barriers and jumpstarts the breakdown of the tough lignin found in the foliage.
Managing the Thermal Lifecycle and Critical Mass
A common frustration for home composters is the “cold pile” syndrome, where the temperature never rises above the ambient air. While cold composting eventually works, it fails to kill off weed seeds and pathogens. The mistake here is often related to the volume of the pile. A compost heap needs a certain “critical mass” to insulate itself and retain the heat generated by microbial activity. If your pile is too small—less than three feet cubed (one cubic yard)—the heat escapes faster than it can be produced.
If you find your compost is lagging, try to build your pile all at once rather than adding a handful of scraps every day. This “batch composting” method ensures that the nitrogen and carbon react simultaneously. If you must add materials gradually, consider using an insulated bin or wrapping your wire mesh bin with burlap or old carpet during the colder months to help maintain those internal temperatures. Ideally, you want the center of the pile to reach between 130°F and 160°F.
Be wary of the “overheating” edge case as well. While rare in small home setups, if a pile exceeds 170°F, it can actually kill the beneficial microbes that are doing the heavy lifting, effectively sterilizing the pile and slowing the process down. Monitoring the core with a long-stemmed compost thermometer takes the guesswork out of the process and tells you exactly when it is time to turn the pile to cool it down or add more nitrogen to heat it up.
Navigating the “Compostable” Labeling and Chemical Contaminants
Modern waste includes many items labeled as “compostable” or “biodegradable,” but these can be deceptive for the home gardener. Many “compostable” plastics (like PLA corn-based cups or cutlery) are designed to break down only in industrial facilities where temperatures are sustained at very high levels for weeks. In a standard backyard bin, these items may remain intact for years, cluttering your finished soil with brittle plastic shards. Unless the packaging specifically states “Home Compostable,” it is safer to keep it out of your bin.
Beyond plastics, there is the hidden danger of chemical residues. Glossy magazines and highly inked flyers can contain heavy metals or petroleum-based pigments, though most modern inks are soy-based. More concerning are “forever chemicals” found in some grease-resistant fast-food packaging. Even if the paper itself is organic, the coatings used to keep the oil from soaking through can persist in your soil. Stick to plain corrugated cardboard and matte newspapers to be safe.
Another often-overlooked contaminant is the sticker on fruit and vegetable skins. These small PLU stickers are made of thin plastic and do not decompose. While they aren’t toxic in small quantities, they are a nuisance when you find hundreds of them dotting your garden beds later. Developing the habit of peeling these stickers off before tossing the peel into the scrap bucket will save you significant effort during the sifting phase.
The “Continuous Addition” Mistake and Batch Management
One of the most frequent logistical errors is the “infinite pile” approach. This happens when a gardener continuously adds fresh kitchen scraps to the top of a pile that is nearly finished. When it comes time to harvest the compost, you find a mixture of beautiful, dark humus at the bottom and fresh, recognizable banana peels and eggshells at the top. This forces you to spend hours sorting the raw material from the finished product.
The solution is a multi-bin system or a “stop-and-start” schedule. Once your bin is full or has reached a substantial size, stop adding new material to it. Start a second pile or bin for your daily scraps. This allows the first pile to enter the “curing” phase, where the final stages of decomposition occur undisturbed. This separation ensures that when you go to use the compost in your garden, it is fully stabilized and won’t compete with your plants for nitrogen.
For those with limited space, consider a “vestibule” approach. Use a smaller bucket or a pre-composting bin to collect a week’s worth of scraps. When you add this batch to the main pile, bury it deep in the center. This not only keeps the fresh material away from the surface where it might attract flies but also ensures it is placed directly into the most active microbial zone, speeding up its integration with the older material.
Persistent Herbicides and the “Killer Compost” Syndrome
A devastating mistake that can ruin an entire gardening season is the introduction of persistent herbicides, such as aminopyralids. These chemicals are often used by farmers on hay fields or pastures to kill broadleaf weeds. They are designed to survive the digestive tract of a cow or horse and, crucially, they do not break down during the composting process. If you source manure or straw from a farm that uses these chemicals, your finished compost could end up killing your tomatoes, beans, and peas.
To avoid this “killer compost,” always ask your source about their herbicide use. If you are unsure, perform a simple bioassay test before applying the compost to your garden. Plant a few bean or pea seeds in a pot filled with a 50/50 mix of your compost and potting soil, and plant another set in just potting soil as a control. If the seeds in the compost mix emerge with twisted, curled leaves or fail to grow while the control group thrives, your compost is contaminated and should not be used on sensitive food crops.
This issue also extends to lawn clippings. If you or your neighbors use “weed and feed” products on the lawn, those clippings must stay out of the compost pile for at least three to four mowings after the application. Even then, some chemicals can linger. When in doubt, it is better to use those clippings as a mulch for non-edible ornamentals rather than risking the long-term health of your vegetable patches.
Advanced Pest Exclusion and Managing Fly Populations
While the existing article mentions avoiding meat and dairy to prevent pests, even a strictly vegan compost pile can face infestations of fruit flies, fungus gnats, or house flies. The mistake is usually leaving “greens” exposed on the surface of the pile. These nitrogen-rich materials are highly attractive to insects looking for a place to lay eggs. Once an infestation starts, it can be difficult to manage without turning the whole pile into a soggy mess.
The “Bio-Filter” technique is the most effective way to prevent this. Every time you add kitchen scraps, immediately cover them with a thick layer of “browns,” such as dried leaves, shredded paper, or even a layer of finished compost. This acts as a physical and olfactory barrier, trapping the smells that attract flies and making it impossible for them to reach the decaying organic matter. If you already have a fly problem, a thick cap of two to three inches of sawdust or straw can often break the breeding cycle within a week.
It is also important to distinguish between “pests” and “beneficials.” For example, many people are alarmed to find large, grayish grubs in their compost. These are often Black Soldier Fly Larvae (BSFL). Unlike house flies, BSFL do not carry diseases and are actually voracious decomposers that can process waste faster than worms. If you see them, don’t panic; they are a sign of a very active (though perhaps slightly too moist) system. However, if you find their presence off-putting, simply increasing the carbon content (browns) and turning the pile more frequently will make the environment less hospitable for them.
Curing and Storage: Why Finished Compost Isn’t Ready Immediately
The final mistake many gardeners make is using compost as soon as it looks dark and crumbly. This “immature” compost may still be undergoing active chemical changes. If the decomposition process isn’t fully finished, the microbes may still be actively consuming nitrogen to break down the last bits of carbon. When you mix this into your garden soil, the microbes will actually steal nitrogen from your plants’ roots to finish their work, leading to stunted growth and yellowing leaves.
Finished compost needs a “curing” period of at least four to eight weeks. During this time, the pile should be kept slightly moist but not turned. This allows the temperature to stabilize and gives time for complex humic acids to form and for the microbial population to shift from high-heat bacteria to the fungi and actinomycetes that are beneficial for soil structure. A well-cured compost will pass the “bag test”: seal a handful of moist compost in a plastic bag for 24 hours. If it smells like ammonia or sulfur when you open it, it’s not done. If it smells like a forest floor, it’s ready.
FAQ
1. How long does it take for compost to be ready?
It typically takes 3-6 months for compost to be ready, depending on the materials used and how well the pile is maintained.
2. Can I compost during the winter?
Yes, you can compost during the winter, although the process will slow down due to lower temperatures. Insulating your compost pile can help maintain activity.
3. What should I do if my compost smells bad?
Bad smells usually indicate too much moisture or not enough oxygen. Add more browns and turn the pile to aerate it.
4. Can I compost weeds?
Yes, but ensure they haven’t gone to seed, as the seeds may survive the composting process and sprout in your garden.
5. How do I know when my compost is ready?
Finished compost will be dark, crumbly, and have an earthy smell. It should no longer resemble the original materials.
Related posts:
 OXO Compost Bin Review
 The Best Compost Bins for Eco-Friendly Waste Management
 Rose Crystal Garden in NYC
 Composting Made Easy: The Best Foods to Include in Your Compost Pile
 Beginner’s Guide to Composting
 Essential Tips for Better Garden Health
 Simple Tips for Backyard Composting
OXO Compost Bin Review