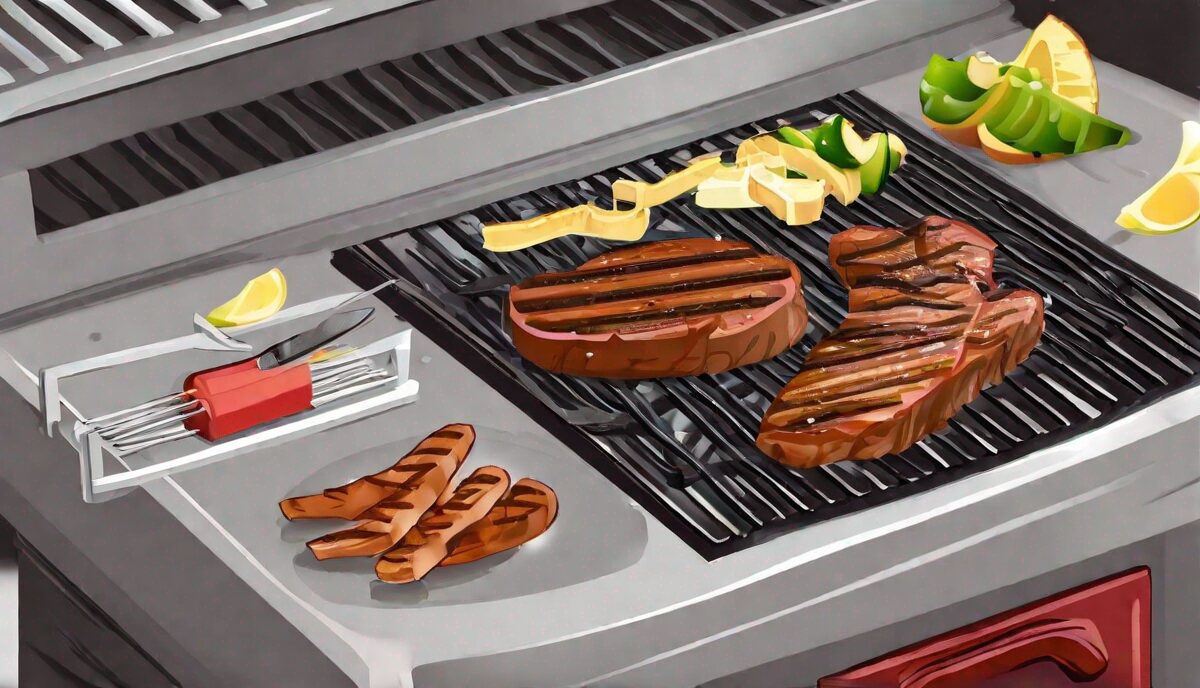
Grilling is an art that brings out the best flavors in food, but even seasoned grill masters can make mistakes. Whether you’re a beginner or an experienced griller, avoiding common pitfalls can elevate your grilling game. In this article, we will explore the most common grilling mistakes and provide tips on how to avoid them.
1. Not Preheating the Grill
One of the most frequent mistakes is not allowing the grill to reach the proper temperature before cooking. Preheating is essential for achieving those beautiful sear marks and ensuring even cooking.
- Tip: Preheat your grill for at least 15 minutes before placing any food on it.
2. Using the Wrong Type of Fuel
Choosing the wrong type of fuel can affect the flavor and cooking efficiency. Charcoal, gas, and wood each have their own benefits and drawbacks.
- Tip: Choose the fuel type that complements the food you are grilling. For example, use charcoal for a smoky flavor and gas for convenience.
3. Overcrowding the Grill
Placing too many items on the grill can lead to uneven cooking and make it difficult to manage flare-ups.
- Tip: Give each piece of food enough space to cook evenly and avoid flare-ups by not overcrowding the grill.
4. Constantly Flipping the Meat
Flipping meat too often can prevent it from developing a good sear and can result in uneven cooking.
- Tip: Allow the meat to cook for a few minutes on one side before flipping it. Typically, flipping once or twice during the cooking process is sufficient.
5. Ignoring Food Safety
Grilling involves handling raw and cooked foods, and neglecting food safety can lead to contamination and foodborne illnesses.
- Tip: Always use separate plates and utensils for raw and cooked foods, and wash your hands frequently.
6. Not Letting Meat Rest
Cutting into meat right after it comes off the grill can cause the juices to escape, resulting in dry and less flavorful meat.
- Tip: Let the meat rest for at least 5-10 minutes before slicing to allow the juices to redistribute.
The Science of Surface Moisture and the Maillard Reaction
Many grillers fail to realize that surface moisture is the enemy of a perfect sear. When you place a wet piece of meat on the grates, the grill must first expend energy evaporating that surface water before it can begin the Maillard reaction—the chemical process responsible for the browning and complex flavor development we crave. To achieve a professional-grade crust, pat your proteins thoroughly dry with paper towels before seasoning. Furthermore, avoid the urge to salt your meat too far in advance unless you are dry-brining. If you salt a steak ten minutes before grilling, the salt draws moisture to the surface via osmosis, creating a wet “sweat” that prevents a deep, mahogany crust. Either salt immediately before hitting the grates or at least 45 minutes prior to allow the liquid to be reabsorbed.
Mastering Indirect Heat for Thick Cuts
A common error is cooking thick-cut steaks, bone-in chicken, or roasts exclusively over direct flame, which leads to a charred exterior and a raw or cold center. The solution is the two-zone setup. By banking your coals on one side or lighting only half the burners on a gas grill, you create a temperature gradient. Sear your meat over the direct heat to develop the crust, then slide it over to the indirect side to finish cooking through convection, similar to an oven. This method is crucial for thick items like pork chops or whole chickens, preventing the surface from burning long before the internal temperature reaches a safe or desired level. Always keep the lid closed when using the indirect zone to trap the heat and maintain consistent ambient temperatures.
The Hidden Dangers of Poor Grate Maintenance
Dirty grates aren’t just an aesthetic issue; they are a major contributor to food sticking and off-putting flavors. Burnt-on carbon deposits from previous sessions act as a sponge for heat and can impart a bitter, acrid taste to your fresh ingredients. To clean effectively, heat the grill to its maximum setting for ten minutes, then use a high-quality stainless steel brush to remove debris. Follow this by wiping the grates with a cloth dipped in high-smoke-point oil (like grapeseed or canola) using long-handled tongs. This creates a non-stick barrier that is essential for delicate items like fish or vegetables. Never use wire brushes that could leave metal bristles behind, as these are significant ingestion hazards; consider a wooden scraper or a coil-style cleaner for a safer alternative.
Strategic Use of Marinades and Glazes
Many home cooks make the mistake of applying sugary glazes or thick barbecue sauces at the beginning of the cooking process. Sugars caramelize and burn at temperatures well below those required for searing, leading to blackened, bitter bits long before the protein is cooked through. Save your sauces for the final 5-10 minutes of grilling. If you are marinating, ensure the meat is well-drained before it touches the heat. Excess oil from marinades will drip into the fuel source, causing flare-ups that deposit soot onto your food. By reserving the sauce and applying it only toward the end, you allow the heat to caramelize the sugars into a sticky, glossy coating without turning the exterior into carbon.
Understanding Carryover Cooking
Even after you remove your protein from the heat source, the internal temperature continues to rise due to residual heat stored in the outer layers of the food. This is known as carryover cooking, and ignoring it is why many people accidentally overcook their expensive cuts. For large items like roasts or whole chickens, the internal temperature can rise by as much as 10 to 15 degrees after pulling them off the grill. For smaller items like steaks or chops, expect a 5-degree rise. Use an instant-read digital thermometer to pull your meat 5 degrees below your target final temperature. Mastering this gap is the difference between a perfectly medium-rare steak and a dry, overcooked one.
Vegetable Grilling Techniques for Even Results
Vegetables are often treated as an afterthought, leading to charred exteriors and raw, crunchy interiors. Unlike meat, vegetables benefit from being cut into uniform sizes to ensure they finish at the same time. Use a grill basket for smaller items like asparagus, cherry tomatoes, or sliced peppers to prevent them from falling through the grates. For denser vegetables like squash, eggplant, or onions, par-boiling or microwaving them for a few minutes before grilling can drastically reduce the time they spend over the flame, allowing you to achieve a beautiful char without drying them out. Remember that vegetables have high water content, so give them enough space on the grill to ensure they are roasting in the ambient heat rather than steaming in their own juices.
FAQ
1. How long should I preheat my grill?
Preheat your grill for at least 15 minutes to ensure it reaches the proper temperature for cooking.
2. Which type of fuel is best for grilling?
The best type of fuel depends on your preferences. Charcoal provides a smoky flavor, gas offers convenience, and wood adds unique flavors.
3. How can I prevent flare-ups?
Avoid overcrowding the grill and trim excess fat from meats to reduce the risk of flare-ups.
4. How often should I flip the meat on the grill?
Flip the meat only once or twice during the cooking process to achieve even cooking and a good sear.
5. Why is it important to let meat rest after grilling?
Letting meat rest allows the juices to redistribute, resulting in juicier and more flavorful meat.
Related posts:
 TGI Friday’s Just Started Serving Beyond Meat and Everything Has Changed
 Beyond Breakfast: The Plant-Based Sausage That’s Changing the Morning Game
 Plant-Based Grilling: Delicious Vegan and Vegetarian BBQ Ideas
 The Meat Blend Trend That’s Taking Over Grocery Stores
 Understanding Meat Extenders
 Your Complete Guide to Avoiding Food Poisoning This Summer
 Healthy French Cookout Ideas
 15-Minute Dairy-Free Dinner Ideas