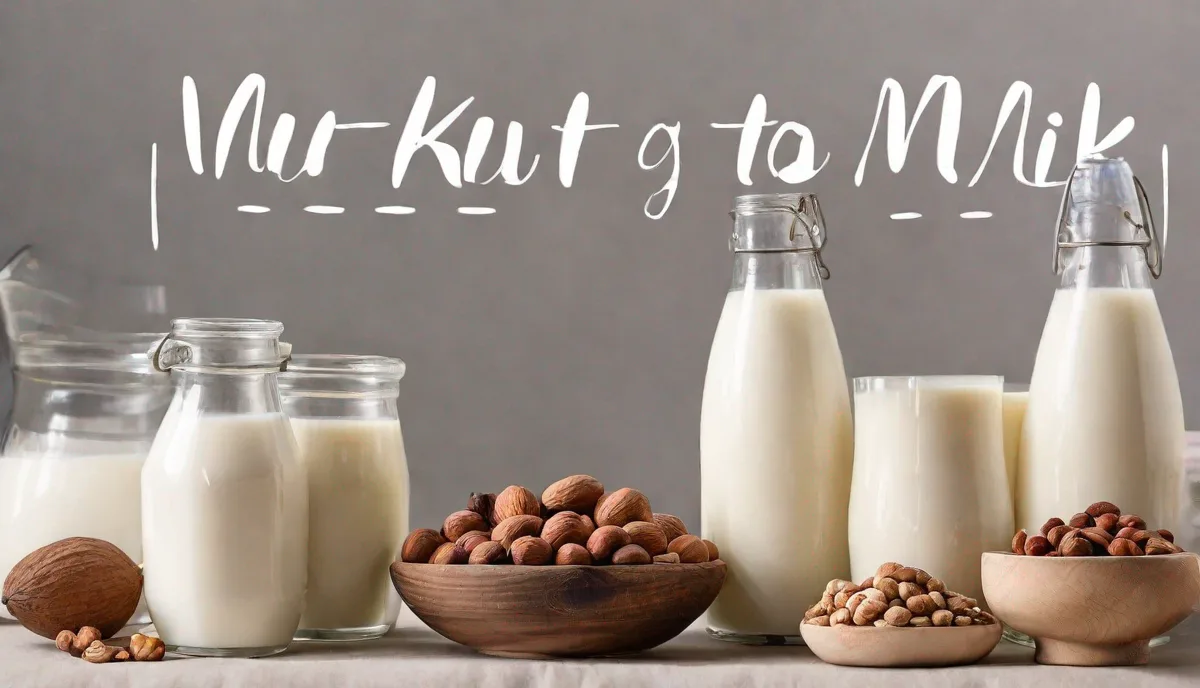
The Joys of Homemade Nut Milk
Making your own nut milk at home is deeply satisfying and has many benefits for health, sustainability, and connecting with what you eat.
With just a few simple ingredients like nuts, water, dates, and spices, you can create delicious homemade almond milk, cashew milk, and more in your own kitchen.
Why Make Your Own Nut Milk?
- Avoid additives and preservatives found in store-bought varieties
- Completely customize flavors to your liking
- More environmentally sustainable by reducing packaging waste
- Significantly cheaper than buying pre-made
- Connecting with your food brings mindfulness and joy
The Basic Process
Making nut milk is very simple:
- Soak raw nuts to soften (anywhere from 30 minutes to overnight)
- Drain and rinse nuts thoroughly
- Blend with water and any extra flavorings in a high powered blender until smooth and creamy
- Strain blended mixture through a nut milk bag, cheesecloth, or fine mesh strainer to separate out the nut pulp
- Store finished nut milk in an airtight container in the fridge for 3-4 days
Tips and Tricks
Here are some helpful tips for making great DIY nut milk:
- Use raw nuts instead of roasted for better flavor and nutrition
- Soak nuts up to 24 hours to yield more milk with a creamier texture
- Add a couple dates, vanilla, cinnamon, or a pinch of salt to boost flavor
- Straining well is crucial to achieve a smooth, milk-like consistency
- Shake or stir before drinking as separation is normal
Optimizing Your Water-to-Nut Ratios for Texture
While a standard ratio is often cited as 4:1 (water to nuts), this is merely a starting point. If you prefer a barista-style, cafe-quality milk that froths well for lattes, consider tightening your ratio to 3:1. This higher concentration of nut solids provides more fats and proteins, which are essential for creating stable micro-foam. Conversely, if you are looking for a light, refreshing beverage for hydration or cereal, a 5:1 or even 6:1 ratio will stretch your ingredients further without sacrificing the essential nut flavor. When working with higher ratios, you may find that the milk feels thinner; in these cases, adding a teaspoon of sunflower lecithin or a tiny bit of coconut oil during the blending stage can act as a natural emulsifier, preventing the water and fats from separating too aggressively in the fridge.
The Science of Soaking and Enzyme Inhibition
Soaking is not just about softening nuts for the blender; it is a critical step for digestibility. Raw nuts contain enzyme inhibitors and phytic acid, which are natural defense mechanisms that can make digestion difficult for some people. By soaking nuts in filtered water with a pinch of sea salt, you trigger the germination process, which helps neutralize these compounds. For tougher nuts like almonds or hazelnuts, a 12-hour soak is ideal. For softer nuts like cashews or macadamias, 2 to 4 hours is usually sufficient. Always discard the soaking water rather than using it in your milk; the water carries away the tannins and inhibitors that you have worked to remove. If you live in a warm climate, perform your long soaks in the refrigerator to prevent fermentation, which can sour the flavor of your finished milk.
Advanced Flavor Infusions and Culinary Pairings
Moving beyond basic vanilla and cinnamon opens up a world of culinary versatility. Consider using your nut milk as a base for specific dishes by tailoring the flavor profile during the blending stage. For savory applications, such as creamy soups or mashed potatoes, omit the dates and vanilla entirely. Instead, blend in a small clove of garlic, a pinch of nutritional yeast, or fresh herbs like chives or parsley to create a savory cream alternative. For sweet applications, try incorporating unexpected ingredients like cardamom pods, a drop of rose water, or even a tablespoon of raw cacao powder for a homemade chocolate milk that is far superior to any store-bought version. If you are aiming for a “cream” consistency for coffee, blending in a single pitted Medjool date provides a subtle caramel note that balances the natural bitterness of coffee beans perfectly.
Mastering the Straining Technique for Silky Results
The texture of your homemade milk is largely determined by how effectively you remove the solids. While cheesecloth is common, it is notoriously difficult to clean. Investing in a high-quality, fine-mesh nylon nut milk bag is a game-changer. These bags are designed to withstand the pressure of squeezing, allowing you to extract every drop of liquid while keeping the pulp trapped inside. For an exceptionally silky mouthfeel, pass your finished milk through the bag twice. The first pass removes the coarse particles, and the second pass captures the fine sediment. If you notice a gritty texture, your blender might not be reaching high enough speeds; if you cannot upgrade your appliance, strain the mixture through a double layer of cheesecloth inside a fine mesh sieve to catch the smallest particles that a single-layer bag might let through.
Repurposing Nut Pulp to Eliminate Waste
One of the most rewarding aspects of making your own milk is the byproduct: the leftover nut pulp. Rather than discarding it, view it as a nutrient-dense ingredient for your pantry. Almond pulp, in particular, can be dried out in a low-temperature oven (around 170°F) for several hours until completely crisp, then processed into a fine flour for gluten-free baking. If you prefer to use it while moist, fold the pulp into your morning oatmeal, mix it into pancake or waffle batter, or stir it into hummus to add a rich, nutty texture. Cashew pulp, which is much creamier, works exceptionally well as a thickener for curries, stews, or as a base for raw vegan “cheesecakes” when blended with maple syrup and coconut oil. By utilizing the pulp, you effectively turn a single-use process into a zero-waste kitchen cycle.
Troubleshooting Common DIY Milk Issues
If your milk turns out slimy, it is likely due to over-blending or using nuts that have sat in warm water for too long. While high-speed blending is necessary, running the motor for more than 60 seconds can heat up the liquid, which alters the proteins and can lead to a mucilaginous texture. If you notice your milk is separating into distinct layers quickly, this is a natural phenomenon; without commercial stabilizers, your milk will settle. Simply give the jar a vigorous shake before each pour. If the flavor is slightly bitter, you may be using older nuts; always smell your nuts before soaking to ensure they haven’t gone rancid, as even a few bad nuts can ruin an entire batch. If you find your milk is spoiling before the 4-day mark, ensure your glass storage bottles are sterilized in boiling water before filling, as residual bacteria in the jar is the most common cause of early spoilage.
Scaling Up and Batch Production
If you find yourself making nut milk weekly, consider streamlining your workflow by batch-processing your nuts. You can soak a large quantity of nuts, drain them, and then freeze them in single-batch portions. When you are ready to make milk, simply pull a bag of pre-soaked, frozen nuts from the freezer and toss them directly into the blender with fresh water. This eliminates the 12-hour wait time and makes the process accessible even on busy mornings. Additionally, keeping a dedicated “milk station” in your kitchen—with your nut milk bag, a high-quality blender, and a supply of glass storage jars—will reduce the friction of the process, making it a sustainable habit rather than a sporadic chore. Always label your jars with the date of production, as it is easy to lose track of time when your fridge is stocked with multiple variations of plant-based milks.
Frequently Asked Questions
What nuts work best for making milk?
The most popular nuts used are almonds, cashews, hazelnuts, and coconuts. Almonds and cashews make mild-flavored, versatile milk. Coconut milk has a stronger flavor. And hazelnuts are subtly sweet and nutty.
Can you make nut-free milk from seeds and grains?
Yes! You can make delicious and nourishing milk from all kinds of seeds, grains, and legumes using the same method. Some examples are oat milk, rice milk, and hemp seed milk.
How long does homemade nut milk last?
If stored in an airtight container in the refrigerator, most nut milks will stay fresh for 3-4 days. Shake before using as separation is normal.
Can nut milks be frozen?
Yes, homemade or store-bought nut milks freeze well for up to 3 months. Remember to leave room for expansion and shake vigorously after thawing.
Is it more economical to make or buy nut milk?
Homemade nut milks can be made for just a fraction of the cost of store-bought, especially if you buy nuts in bulk. And it produces much less packaging waste for a more sustainable choice all around.
Related posts:
 The Best Blenders for Every Budget and Lifestyle
 How to Clean Turmeric Stains from Blenders
 Creamy Homemade Macadamia Milk in Under 10 Minutes
 Easy Rainbow Nut Milk Recipes by Sakara Life’s Danielle Duboise
 Healthy Frozen Banana Desserts
 Understanding Oat Milk
 Homemade Alternative Milk Guide
 Complete Guide to Non-Dairy Milk Options