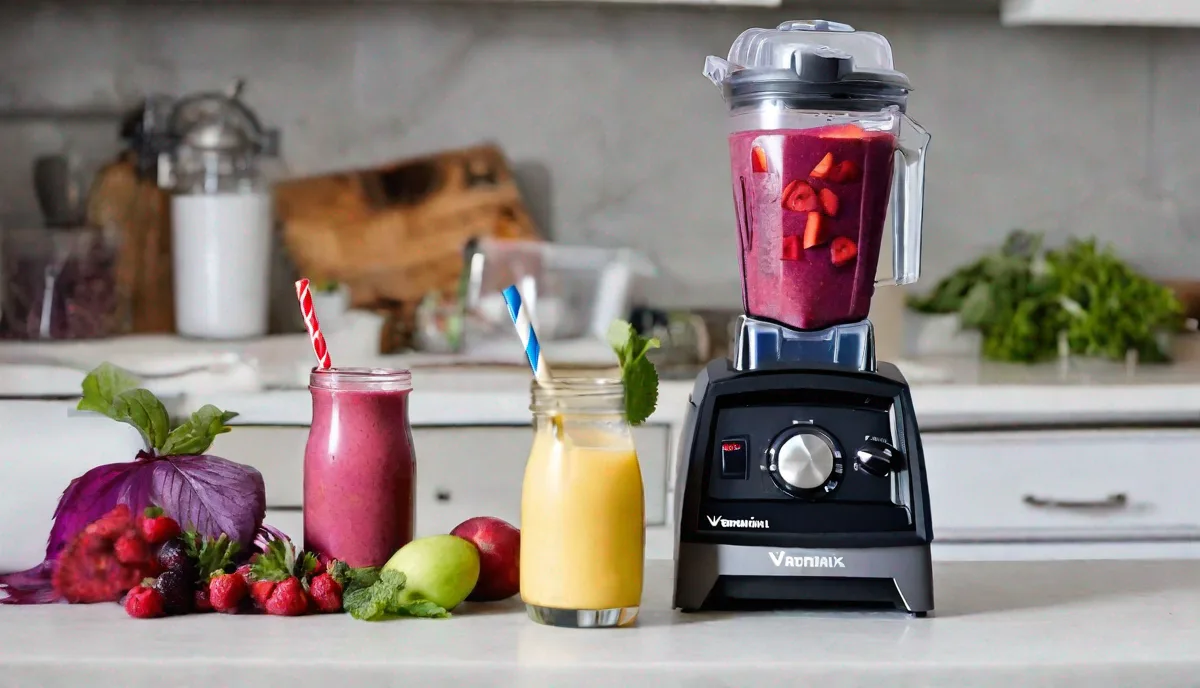
Cleaning your Vitamix blender regularly is important for keeping it running smoothly and preventing buildup. Vitamix blenders are powerful machines designed for frequent use, but even the best blenders need a little maintenance.
Key takeaways
- Use warm water and a drop of dish soap, blending on high for 60 seconds to clean the container and blades thoroughly.
- Remove the rubber lid seal and clean it by hand regularly to prevent trapped food particles and bacteria accumulation.
- Soak the container in a 50/50 vinegar and water solution to dissolve white mineral deposits from hard water.
- Clean the drive socket with a dry, soft-bristled toothbrush to remove fine debris without using liquids near the motor.
- Add baking soda to your cleaning mixture to help cut through greasy, hydrophobic residue left by nut butters and oils.
Why It’s Important to Clean Your Vitamix
Over time, small bits of food can get stuck under the blades or around the container seals. This buildup is totally normal but should be cleaned out to prevent messes, odors, and even motor problems if too much gunk builds up.
Giving your Vitamix a quick rinse after each use can help, but a deeper clean is still needed every week or two to keep things fresh.
How to Clean Your Vitamix Step-by-Step
- Rinse the container and lid immediately after use. This makes cleaning easier later.
- Fill the container about 2/3 full with warm water and add a drop of dish soap.
- Attach lid and base, then blend on high for 30-60 seconds. The soap and friction will help clean the container and blades.
- Rinse thoroughly with clean water.
- Remove the rubber seal around the lid and clean by hand with soap and water. Check for trapped bits of food.
- Wipe down the base and touch surfaces with a soft, damp cloth.
Tough Buildup or Odors
For tougher buildup, try letting the container soak for 30 minutes after adding soap and water. You can also use vinegar instead of dish soap to help break down residue.
If odors linger even after cleaning, blend a mixture of 1 cup water and 1 lemon juice for 30 seconds. The acidity helps deodorize and sanitize the container.
Preventing Future Buildup
Here are some tips for keeping your Vitamix cleaner longer:
- Rinse immediately after smoothies containing leafy greens, berries, or other sticky ingredients.
- Don’t let ingredients dry inside the container between uses.
- Blend a cleaning mixture once a week to maintain freshness.
- Replace the rubber seal around the lid every 6-12 months.
- Follow manufacturer guidelines on lubricating the base and changing blades/parts over time.
Deep-Cleaning the Drive Socket and Motor Base Interface
While the container gets all the attention, the drive socket—that star-shaped piece on top of the motor base—often collects “black dust” or fine debris over time. This is usually a sign of normal wear on the drive socket’s internal components. To clean this area, use a dry, soft-bristled toothbrush or a cotton swab to gently dislodge any dust. Never use liquid cleaners or water directly on the motor base, as moisture can seep into the internal electronics. If you notice a persistent accumulation of dark powder, it may indicate that the drive socket is becoming loose or worn and might eventually require a replacement part to ensure the blender operates at peak performance.
Removing Stubborn Mineral Scale and Cloudiness
Over time, hard water minerals (calcium and magnesium) can leave a white, cloudy film on the interior walls of your Vitamix container, especially if you live in an area with high water hardness. Standard dish soap won’t remove this. To restore clarity, fill the container with a 50/50 mixture of white vinegar and water. Let it soak for at least one hour—or overnight for severe cases. After soaking, blend the mixture on high for 45 seconds, dump it out, and scrub with a non-abrasive sponge. This acidic treatment effectively dissolves mineral deposits without compromising the structural integrity of the Eastman Tritan plastic.
The Precision Scrub: Targeting the Blade Assembly Underside
Even with the self-cleaning method, a thin film of oil or protein can cling to the very bottom of the blade assembly where it meets the container base. Because you cannot disassemble the blades, you need a specialized tool. A long-handled, narrow bottle brush with stiff, non-scratch bristles is essential. Tilt the container at an angle under a bright light to inspect the underside of the blades. Gently work the brush in a circular motion to dislodge trapped ingredients like nut butter or chia seeds. If you find a particularly stubborn patch, apply a small amount of baking soda paste—made with a teaspoon of baking soda and a drop of water—directly to the bristles to act as a mild abrasive that won’t scratch the stainless steel.
Sanitizing After Processing Raw Proteins or Dairy
If you use your Vitamix for raw eggs, heavy creams, or meat-based broths, standard soap cleaning might not be enough to eliminate potential bacteria. After your initial soap-and-water blend, perform a sanitizing rinse. Use a solution of one teaspoon of unscented household bleach per gallon of water. Pour this into the container and let it sit for two minutes, then pour it out and rinse the container thoroughly with fresh water until no trace of the bleach scent remains. This extra step ensures that your container remains food-safe and free from cross-contamination, especially if you alternate between savory cooking and fruit-based smoothies.
Managing Sticky Residue from Nut Butters and Oils
High-fat ingredients like almond butter, tahini, or avocado oil can create a hydrophobic film that repels water and soap, leading to a greasy “tackiness” on the container walls. To cut through this oil-based buildup, add a tablespoon of baking soda to the container before adding your warm water and dish soap. The baking soda acts as a mild degreaser and provides the necessary friction to lift oil molecules from the plastic surface. Blend for 60 seconds on high speed. If the container still feels slippery to the touch, repeat the process with a small amount of white vinegar added to the soapy water to neutralize any remaining lipid residue.
Exterior Maintenance: Protecting the Touchpad and Switches
The control panel and switches are prone to sticky fingerprints and dried smoothie splatters, which can eventually seep into the crevices of the buttons. To clean these delicate areas, dampen a microfiber cloth with an all-purpose kitchen cleaner or a mixture of water and a tiny drop of dish soap—ensure the cloth is damp, not dripping. Use a toothpick or a clean, dry interdental brush to carefully clear debris from the narrow gaps around the pulse switch or toggle buttons. Never spray liquid directly onto the control panel. If you have a model with a touchscreen, use an electronics-safe wipe to avoid damaging the sensitivity of the display.
Frequently Asked Questions
How often should I deep clean my Vitamix?
Aim to deep clean your Vitamix by blending a soapy water mixture every 1-2 weeks. If you use it daily or make lots of green smoothies, cleaning it 1-2 times per week is best.
Can I put Vitamix parts in the dishwasher?
The container, lid, and lid seal can be placed on the top rack of a dishwasher. However, hand washing is recommended by Vitamix to prolong the life of these parts.
What is the white stuff around my Vitamix blades?
White residue around the blades is usually calcium deposits from hard water or minerals left behind from ingredients. This buildup is harmless but cleaning it regularly keeps your blender running smoothly.
Why does my Vitamix still smell bad after cleaning?
If odors linger after a thorough clean, try blending a cleaning mixture of water and lemon juice. The acidity helps remove stains and deodorize the container. If that doesn’t work, the smell could be coming from hidden buildup around the seals that needs scrubbing.
Should I take apart the Vitamix base for cleaning?
No, disassembling the base or motor can damage your Vitamix. Simply wipe down the exterior and touch points with a damp cloth to clean.
Related posts:
 Creative Ways to Use Baking Soda
 How to Clean Turmeric Stains from Blenders
 Vitamix Cyber Monday Savings Guide
 White Sneaker Cleaning Hack
 Vitamix Cyber Monday Savings Guide
 Vitamix Sale 2021: Elevate Your Blending Game at Unbeatable Prices
 Reusable Straw Cleaning Tips for a Hygienic Sipping Experience
 Removing Scalp Buildup