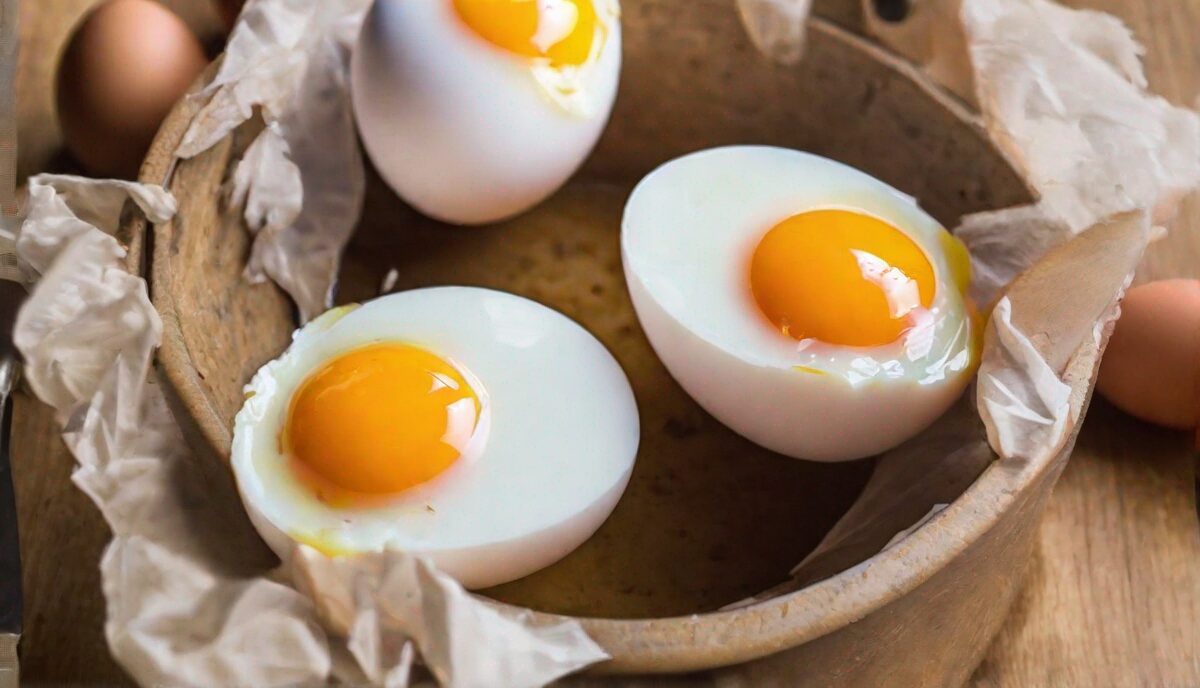
The Convenience of an Instant Pot Egg Insert
An Instant Pot egg insert allows you to make perfect hard boiled, soft boiled, and poached eggs with ease. This handy accessory sits inside your Instant Pot, holding the eggs upright while they cook to perfection using the steam and heat.<
Benefits of Using an Egg Insert
There are several benefits to using an egg insert in your Instant Pot:
- Consistent results – Eggs cook evenly and consistently every time. No more guessing if they are done!
- Easy to peel – Steam peeled eggs are much easier to peel than boiling.
- Saves time – Cook eggs quickly with a faster pressurized method.
- Reduces cracking – Holds eggs upright so shells don’t crack while cooking.
Tips for Using Your Egg Insert
To get the best results from your egg insert, follow these tips:
- Use room temperature eggs
- Gently place eggs into insert holes
- Add 1 cup water to pot
- Stack insert on trivet, not directly on bottom
Mastering the Ice Bath Shock Technique
While the steaming process in your Instant Pot handles the internal texture of the yolk, the external quality of the shell relies entirely on the post-cook thermal shock. Immediately upon the audible beep signaling the end of the pressurized cycle, perform a quick release of the steam. The moment the valve drops, you must transfer the eggs into a prepared bowl of ice water—an “ice bath.” This is not merely a suggestion; it is a chemical necessity. The cold water stops the residual heat from continuing to cook the yolk, which prevents that dreaded green ring of sulfur from forming around the edge of the yolk. Furthermore, the rapid temperature drop causes the egg contents to shrink slightly away from the membrane, creating a tiny air gap that makes the shell slide off in large, satisfying pieces when you go to peel them. Leave them submerged for a minimum of ten minutes before attempting to peel.
Troubleshooting Shell Adhesion and Membrane Issues
If you find that your eggs are still clinging to the shell, you may be dealing with the freshness factor. Farm-fresh eggs, or those laid within the last 48 hours, are notoriously difficult to peel because the pH level of the egg white is lower, causing it to bond more tightly to the inner shell membrane. If you are buying eggs directly from a farmer, let them sit in your refrigerator for at least three to five days before using them in the Instant Pot insert. If you are using store-bought eggs and still encounter issues, try gently tapping the egg on the counter to create a network of micro-cracks before submerging them in the ice bath. This allows the cold water to penetrate the membrane, effectively “lubricating” the space between the white and the shell for an effortless peel.
Maximizing Capacity with Tiered Steaming Methods
For those meal-prepping for the entire week or hosting a brunch, a single layer of eggs might feel limiting. While stacking inserts is discouraged, you can safely utilize the vertical space of your Instant Pot by using a silicone egg rack that features a handle. If you do not have a double-tiered rack, you can achieve a similar result by using a steamer basket on top of a base layer of eggs, provided the lid can still seal properly. Always ensure the total height of your stacked eggs does not interfere with the sealing ring or the float valve. When cooking a larger volume, increase your water volume to 1.5 cups to ensure the pot reaches full pressure without triggering a “Burn” warning, as the extra mass will require a slightly longer “come to pressure” time.
Advanced Poaching Techniques with Silicone Molds
The standard egg insert is designed for shell-on cooking, but you can elevate your breakfast game by using silicone egg bites molds within your insert. This allows you to create individual poached-style eggs without the mess of a traditional water bath. Simply grease the silicone cups with a light coating of avocado oil or butter, crack an egg into each, and season with cracked black pepper and a pinch of chives. Place the mold on top of your trivet and steam for 5 minutes. The result is a perfectly set, uniform egg with a tender white and a warm, jammy yolk that is ideal for placing on top of avocado toast or a bed of sautéed spinach. This method also allows you to add “mix-ins” like diced ham, shredded Gruyère, or sun-dried tomatoes directly into the cup before cooking.
The Science of Altitude Adjustments
Living at high altitudes significantly impacts the boiling point of water and the efficiency of your Instant Pot. If you reside above 3,000 feet, the standard cooking times provided in recipes will result in undercooked eggs. As a general rule of thumb, you should increase your cooking time by approximately 5% for every 1,000 feet of elevation above sea level. For example, if you are at 5,000 feet, adding an extra 30-60 seconds to your hard-boiled cycle is necessary to compensate for the lower pressure and heat intensity. Always keep a log of your specific results; if your yolks remain too runny at a 6-minute setting, increase to 7 minutes in 30-second increments until you achieve your personal definition of “perfect.”
Proper Maintenance of Your Egg Insert
Because egg inserts are often made from high-grade silicone or stainless steel, they are prone to mineral buildup from hard water. Over time, you may notice a cloudy white residue on your insert; this is simply calcium carbonate. To maintain the longevity of your accessory, soak the insert in a solution of one part white vinegar to three parts warm water for 20 minutes after every few uses. If you are using a stainless steel wire insert, avoid using abrasive steel wool, as this can create micro-scratches where proteins can become trapped during future cycles. A soft nylon brush is sufficient for removing any stray bits of shell or egg white, ensuring your insert stays hygienic and ready for the next batch.
Frequently Asked Questions
How long should I cook eggs?
Cook times can vary a bit by size and personal preference. As a general guide:
Soft boiled – 2-4 minutes
Hard boiled – 4-7 minutes
Poached – 4-6 minutes
How many eggs fit in the insert?
Most inserts hold 6-12 eggs. Consider how many you typically cook at one time.
What size Instant Pot is needed?
Inserts are made to fit all Instant Pot models – Mini, 6qt, 8qt. Verify dimensions if concerned about fit.
Can I stack more than one insert?
Stacking inserts is not recommended, as it could impact cook times. Use a single layer.
What accessories do I need?
An egg insert, trivet to elevate it, Instant Pot, and cup to add water. No other items needed!
Related posts:
 Perfect Hard-Boiled Eggs: A Simple Guide
 Instant Pot Apple Butter Recipe
 Egg Emergency: What You Need to Know About the Salmonella Recall and How to Stay Safe
 The Only 6 Kitchen Tools You Actually Need to Cook Eggs Like a Pro
 Golden Turmeric Deviled Eggs Meet Avocado Toast in This Genius Mashup
 Instant Pot Healthy Recipes That’ll Change Your Meal Prep Game
 Instant Pot Aura Deal
 Perfect Hard-Boiled Eggs