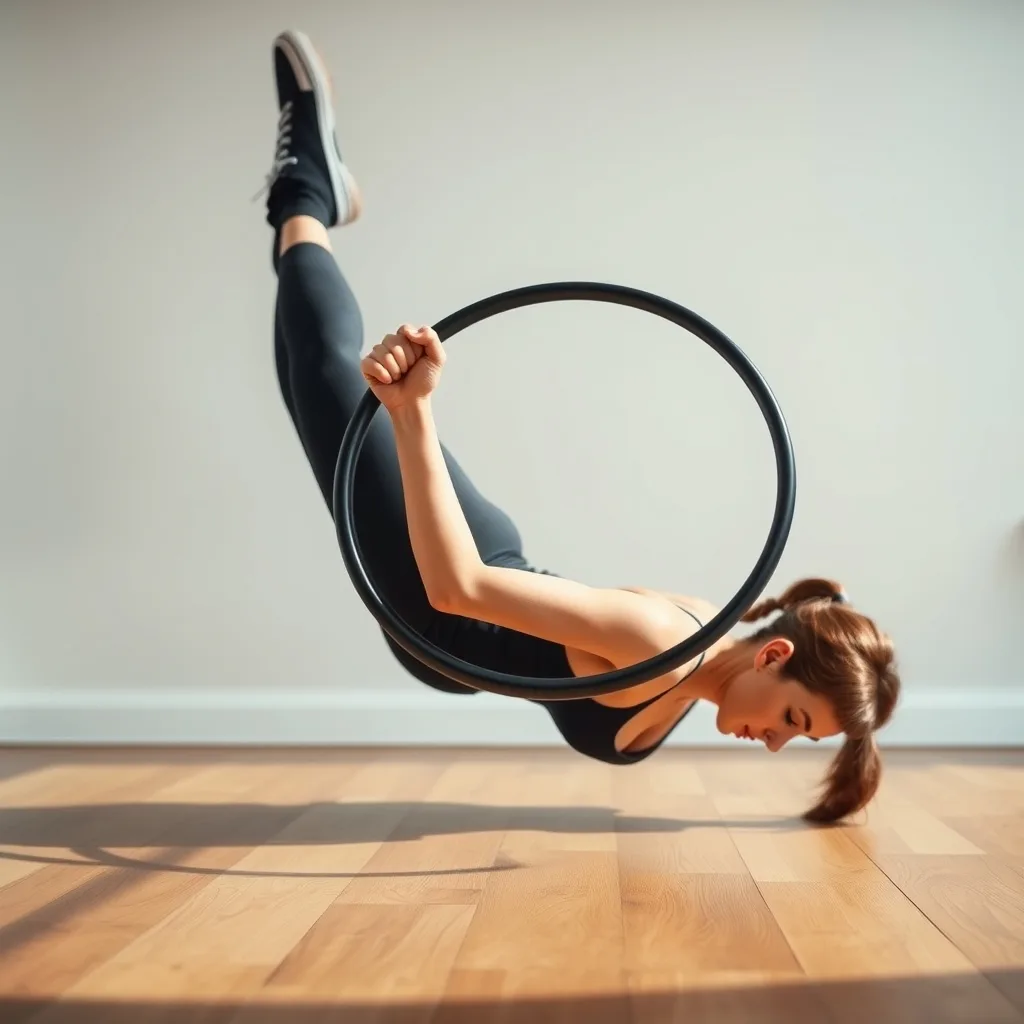
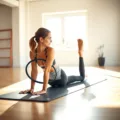
The Pilates ring, often referred to as the Magic Circle, is one of the most misunderstood tools in the fitness world. While many associate it primarily with inner-thigh squeezes, its true potential lies in its ability to transform fundamental movements like the push-up. By integrating the ring into your upper-body routine, you engage stabilizers that traditional floor push-ups often miss, turning a standard exercise into a full-body integration challenge.
Key takeaways
- Use the Pilates ring as a biofeedback tool to maintain constant inward pressure, which stabilizes the shoulder girdle and prevents form breakdown.
- Focus on engaging the serratus anterior by spreading shoulder blades wide and wrapping them around your ribcage throughout the movement.
- Coordinate sharp, lateral thoracic exhales with the ring squeeze to engage the core and maintain a neutral, braced spine during the push.
- Avoid common pitfalls by focusing on inward pressure rather than downward leaning, and keeping a neutral cervical spine to prevent neck strain.
The Anatomy of a Ring-Assisted Push-Up
When you perform a standard push-up, your primary movers are the pectorals, deltoids, and triceps. However, the kinetic chain often breaks down due to lack of core engagement or scapular instability. The Pilates ring acts as a biofeedback tool. By placing the ring between your palms or at chest height, you introduce an isometric contraction that forces the muscles of the chest and upper back to communicate more effectively. This creates a “closed-chain” environment that stabilizes the shoulder girdle, ensuring that the force generated by your push is distributed evenly throughout the entire upper body rather than straining the wrist or elbow joints.
Setting Up Your Equipment for Success
Before beginning, ensure your Pilates ring is of a standard resistance level. A ring that is too stiff may cause you to compromise your form, while one that is too flimsy will not provide the necessary resistance to fire the deep stabilizing muscles. Place the pads of the ring against your palms, with your arms extended at shoulder width. As you lower into your push-up, focus on maintaining a constant, gentle pressure on the ring. This “active engagement” is the secret to unlocking the benefits, as it prevents the shoulders from shrugging toward the ears—a common error that leads to neck tension.
Engaging the Serratus Anterior
One of the most elusive muscles to target during a push-up is the serratus anterior, the “boxer’s muscle” that sits along the side of the ribcage. It is vital for scapular protraction and overall shoulder health. When you use the Pilates ring during a push-up, the inward pressure encourages your shoulder blades to spread wide across your back. This specific mechanical advantage forces the serratus anterior to work harder to maintain stability. By focusing on pushing the ring together as you rise from the bottom of the movement, you effectively ‘wrap’ your shoulder blades around your ribcage, creating a stronger, more stable foundation.
Integrating Core Stability and Alignment
The Pilates ring is not just for the upper body; it is a catalyst for core integration. Because the ring requires active pressure, your brain is forced to coordinate the upper body’s isometric hold with the lower body’s need for a neutral spine. If your core is weak, the pressure on the ring will cause your lower back to sag or your hips to pike. Use this as a diagnostic tool: if you cannot maintain the pressure on the ring without your form collapsing, regress the movement by performing the push-up on your knees. This allows you to master the ring-push connection without sacrificing the integrity of your spinal alignment.
Advanced Variations for Maximum Impact
Once you are comfortable with the basic ring-assisted push-up, you can introduce variations to increase the intensity. One such variation is the “pulse push-up.” In this version, you pause at the lowest point of your push-up and perform three small, controlled pulses inward on the ring before pushing back to the start. This increases the time under tension for the pectoral muscles and adds a layer of muscular endurance training. Another variation involves placing the ring just above your elbows rather than your palms, which isolates the chest muscles further and removes the leverage of the hands, making the movement significantly more challenging for the triceps.
Common Pitfalls and How to Avoid Them
Many practitioners make the mistake of using the ring as a resting point rather than a resistance tool. If your arms are locked out and you are leaning on the ring for support, you are missing the point. The ring should be viewed as a dynamic force that requires constant, intentional squeezing. Another common issue is “neck craning,” where the head drops toward the floor. To correct this, imagine you are holding a tennis ball between your chin and your chest throughout the entire range of motion. Keep your gaze focused on a point about six inches in front of your hands to maintain a long, neutral cervical spine.
Programming Your Ring Push-Up Routine
To see meaningful changes in your upper body strength, treat the ring-assisted push-up as a foundational strength move rather than a finishing exercise. Incorporate 3 sets of 8 to 12 repetitions into your existing Pilates or strength routine, twice per week. Because the ring increases the intensity of the push-up, you may find that you need to perform fewer repetitions than you would with a standard push-up. Focus on the quality of the squeeze rather than the quantity of the reps. If you find your form breaking down, stop the set, take a 30-second rest, and resume with a focus on core engagement.
Recovery and Muscle Synergy
Using the Pilates ring can lead to significant muscle fatigue in the chest and shoulders, as it engages deeper stabilizers that are often undertrained. Ensure that you follow your push-up sessions with targeted stretches, such as the “doorway chest stretch” to open the pectorals and the “child’s pose” to lengthen the latissimus dorsi. Proper hydration and protein intake are essential to support the recovery of these smaller, stabilizing muscle groups. If you experience sharp pain in the wrists or elbows, reduce the resistance of the ring or switch to a modified floor push-up until your joint stability improves.
Mastering the Isometric Hold: The Physics of Constant Tension
The efficacy of the Magic Circle during a push-up is rooted in the principle of isometric tension. Unlike dynamic movements where muscles shorten and lengthen, an isometric hold requires the muscles to maintain a static length while under load. When you apply inward pressure to the ring, you create an intentional “co-contraction” of the chest and posterior chain. This prevents the common “leaky” energy pattern where the shoulders collapse forward during the eccentric phase. To master this, visualize the ring not as an object you are squeezing, but as a spring you are compressing to store potential energy. By maintaining 60% of your maximum squeeze capacity throughout the entire descent, you force the nervous system to recruit motor units that are typically dormant during standard bodyweight exercises. This constant tension essentially “primes” your pectorals and anterior deltoids, ensuring that the transition from the bottom of the push-up to the top is explosive and controlled rather than jerky or momentum-based.
Tactical Placement for Biomechanical Optimization
While most practitioners default to holding the ring between their palms, varying the placement of the ring can shift the focus of the exercise to address specific muscular imbalances. Placing the ring at the level of the sternum versus the level of the wrists changes the lever arm of the movement. If you place the ring vertically between your palms with your thumbs wrapped around the pads, you encourage external rotation of the shoulders, which is ideal for those prone to slouching. Conversely, placing the ring horizontally across the palms forces you to manage a wider base of support, which challenges the stability of the wrist joints and the forearms. If you are training for functional carryover to activities like heavy lifting or sports, experiment with a “narrow-grip” ring placement, which demands superior control of the triceps and medial deltoids, effectively creating a hybrid between a traditional push-up and a close-grip bench press.
Addressing Scapular Dyskinesis through Ring Feedback
Scapular dyskinesis—or “winging” of the shoulder blades—is a frequent culprit in failed push-up attempts. The Pilates ring provides immediate tactile feedback that can correct this issue in real-time. Because the ring requires inward pressure, your brain is forced to process the spatial awareness of your shoulder blades. If your scapulae are not properly depressed and retracted, the ring will physically tilt or slide, indicating a lack of stability. Use this feedback to “pack” your shoulders down away from your ears before the first rep begins. As you lower, focus on the sensation of your shoulder blades gliding flat against your ribcage. If you feel the ring slipping, it is a signal that your serratus anterior has disengaged. Pause, reset your scapular position, and focus on the sensation of “wrapping” the shoulder blades around the ribs to lock the ring in place before continuing the movement.
The Role of Breath Control in High-Tension Push-Ups
The Pilates ring push-up is an inherently high-tension exercise, which often leads practitioners to hold their breath—a habit that increases intra-thoracic pressure and can lead to dizziness or premature fatigue. Instead, utilize lateral thoracic breathing to maintain core rigidity. Inhale as you prepare at the top of the movement, and as you initiate the descent, exhale sharply through pursed lips. This forced exhalation helps to engage the transverse abdominis, which acts as a corset for your spine. By coordinating your breath with the ring squeeze, you create a “braced” torso that is impervious to the sagging or hip-dipping that often plagues those struggling with fatigue. Think of the exhale as the trigger for the squeeze; as your lungs empty, your chest muscles reach peak contraction, providing the stability needed to power through the most difficult part of the push-up—the initial drive off the floor.
Progressive Overload for the Stabilizer Muscles
To avoid hitting a plateau with the ring-assisted push-up, you must apply the principle of progressive overload. Once you can comfortably perform 15 repetitions with consistent ring pressure, do not simply add more reps. Instead, increase the “dwell time” at the bottom of the movement. Start with a two-second pause at the lowest point, maintaining maximum ring compression. This forces the stabilizing muscles to endure a longer period of peak intensity without the benefit of the stretch-shortening cycle. Another way to progress is by altering your surface stability. Perform the ring push-up with your feet elevated on a bench or unstable surface (like a foam pad), which forces your core to work exponentially harder to maintain the integrity of the ring-chest connection. These small modifications ensure that you are continuously challenging your neuromuscular system, even when you have mastered the basic form.
Troubleshooting Wrist and Elbow Discomfort
If you experience joint discomfort, it is rarely the result of the ring itself, but rather a compensation pattern in the kinetic chain. Wrist pain during ring push-ups often indicates that the pressure is being applied “downward” into the floor rather than “inward” into the ring. Focus on directing the force toward the center of the ring, which naturally encourages a neutral wrist angle. If the elbows flare out to the sides (the “chicken wing” effect), the load shifts off the pectorals and onto the delicate structures of the elbow joint. To correct this, imagine you are trying to “bend the ring” in half as you lower, which naturally tucks the elbows at a 45-degree angle to the torso. This alignment not only protects the joints but also significantly increases the recruitment of the chest muscles, making the movement feel both safer and more efficient.
Frequently Asked Questions
Q: Can I use a Pilates ring if I have wrist pain during regular push-ups? A: Yes, often the ring helps by aligning the wrists in a more neutral position and distributing the load more evenly. However, if pain persists, consult a physical therapist to ensure your wrist mobility is sufficient for weight-bearing exercises. Q: How do I know if I am using the right amount of pressure on the ring? A: You should be applying enough pressure to feel your chest and back muscles activate, but not so much that you are shaking uncontrollably or holding your breath. The pressure should be consistent throughout the entire movement. Q: Can this help me achieve my first unassisted push-up? A: Absolutely. By strengthening the stabilizing muscles of the shoulder and core, the ring-assisted push-up acts as an excellent bridge to performing full, unassisted push-ups with perfect form. Q: Should I place the ring above or below the elbows? A: For beginners, placing the ring between the palms is best. Placing it above the elbows is an advanced variation that significantly increases the challenge to the pectoral muscles and should only be attempted once you have mastered the palm-based version. Q: How often should I include this in my workout? A: For best results, incorporate these into your routine 2-3 times per week, allowing at least 48 hours of recovery between sessions to allow the stabilizing muscles to adapt to the new stimulus.
Related posts:
 $5 iPhone Ring Holder Health Hack
 Pilates: The Secret to Core Strength and Stability
 Practical Exercises for Better Wrist Mobility
 The Right Way to Do Push-Ups for Maximum Results
 Stretch Your Way to a Pain-Free Upper Back: A Step-by-Step Guide
 Wrist Mobility Stretches
 Pilates Recovery Benefits
 Ring Leader: Pilates Ring Workouts That Pack a Serious Punch