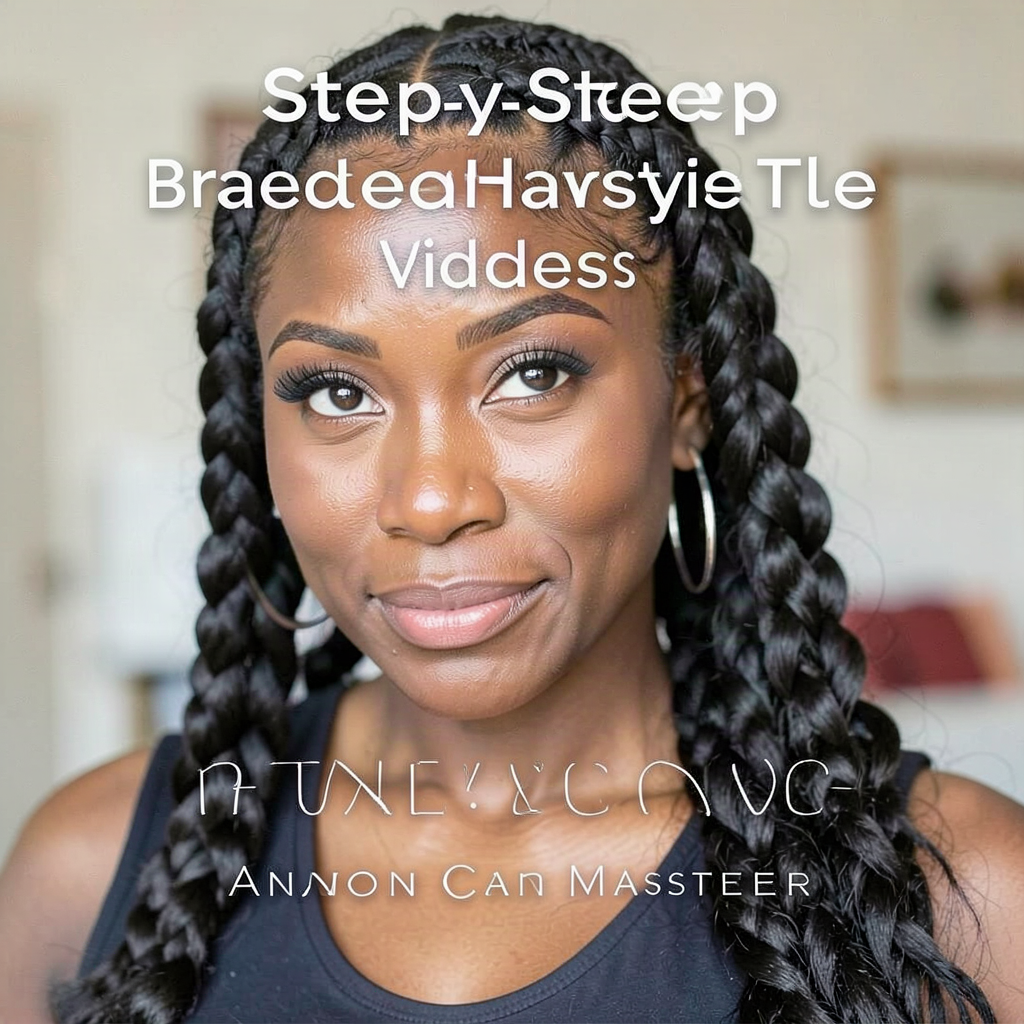
Braided hairstyles have transcended their reputation as simple childhood styles to become sophisticated, versatile, and enduring staples of modern beauty. Whether you are prepping for a high-stakes professional meeting, a casual brunch, or a formal evening event, there is a braid that fits the occasion. While the visual complexity of intricate plaits can be intimidating, the technique behind them is often surprisingly straightforward once you break it down into repeatable steps.
The Foundational Three-Strand Braid
Before tackling complex styles, you must master the classic three-strand braid. This is the cornerstone of every other style. Start by gathering your hair into a ponytail, then divide it into three equal sections: left, middle, and right. Take the right strand and cross it over the middle, so it becomes the new middle strand. Then, take the left strand and cross it over the new middle. Continue this alternating pattern until you reach the ends, securing with a clear elastic. Practicing this in front of a mirror helps your muscle memory develop, ensuring your tension remains consistent throughout the process.
Preparing Your Hair for Texture and Grip
One of the most common reasons beginners struggle with braids is hair that is too slippery or freshly washed. If your hair is fine or silky, it will likely slide out of your hands. To remedy this, apply a texturizing spray or a light dusting of dry shampoo to your roots and lengths before you begin. This adds “grip” to the hair, making it easier to hold sections in place. For those with curly or textured hair, a light leave-in conditioner or a dab of smoothing cream can help tame flyaways and keep the sections defined as you weave them together.
The Dutch Braid: A Lesson in Inversion
The Dutch braid, often called an inside-out braid, creates a bold, 3D effect where the braid sits prominently on top of the hair rather than blending into it. To achieve this, you follow the same pattern as a standard braid, but instead of crossing strands over the middle, you cross them *under* the middle. Start by gathering a small section at the hairline, divide into three, and as you cross the outer strands under the center, pick up a little extra hair from the sides before pulling it into the center. This “adding-in” technique is what creates the structure of the braid against the scalp.
The French Braid Mastery
The French braid is the classic “tucked” look. It differs from the Dutch braid because you cross your sections over the top of the middle strand rather than under it. Begin near your forehead, pulling in small, even sections as you work your way down the head. The key to a tidy French braid is maintaining consistent tension. If you pull too loosely, the braid will sag; too tight, and it may cause discomfort. Aim for a firm, steady pull, and use your fingers to act as a comb, smoothing each section as you integrate it into the main plait.
Creating Effortless Boho-Chic Fishtails
Fishtail braids look incredibly complex, but they are actually easier than standard braids because they only require two sections of hair. Divide your hair into two main sections. Take a tiny, thin piece from the outer edge of the right section and cross it over to the inner side of the left section. Repeat this on the left side, taking a thin piece and crossing it over to the right. The thinner the pieces you pull, the more intricate the final braid will appear. This style is particularly forgiving, as you can gently tug at the outer edges of the braid once finished to create a fuller, “pancaked” look.
The Faux-Braid Technique for Beginners
If your hands struggle with the coordination required for traditional braiding, the “pull-through” or faux-braid method is a game changer. This technique uses a series of small, stacked ponytails. Start by making a ponytail, then create a second one just below it. Split the top ponytail into two, wrap them around the second ponytail, and secure with a third elastic. By repeating this process down the length of your hair, you create the illusion of a thick, voluminous braid without ever having to weave actual strands. It is a foolproof way to achieve a professional-looking style in minutes.
Pancaking: Adding Volume and Drama
Many beginners feel disappointed when their finished braid looks thin or flat. The secret to the thick, voluminous braids seen on social media is a technique called “pancaking.” Once you have finished your braid and secured the end, go back to the top of the braid. Gently pull at the outer edges of each loop, working your way down to the bottom. By loosening the braid after it is tied, you add significant width and texture. Do not pull the entire section; simply tug on the outer edges to create a soft, romantic, and voluminous aesthetic.
Essential Tools for Your Braiding Kit
You do not need an arsenal of expensive tools to succeed, but a few basics make a world of difference. Keep a pack of clear, snag-free elastic bands on hand, as these disappear into any hair color. A rat-tail comb is invaluable for creating clean parts and sectioning hair precisely. Finally, a light-hold hairspray is essential for setting the style. If you are struggling with arm fatigue, keep your elbows tucked in closer to your body, or try braiding with your head tilted slightly downward to gain a better view of your progress in the mirror.
Mastering the Crown Braid: A Royal Finish
The crown braid, or halo braid, is the pinnacle of elegant, face-framing styles. To begin, create a deep side part and start a Dutch braid just above one ear. As you work your way along your hairline, continue adding hair only from the outer side, allowing the braid to arch gracefully across your forehead. Once you reach the opposite ear, transition to a standard three-strand braid and pin the end discreetly behind the starting point. The secret to a seamless crown is to tuck the tail of the braid underneath the beginning section and secure it with two bobby pins placed in an ‘X’ shape. If your hair is on the shorter side, try creating two separate pigtail braids and pinning each one across the top of your head in opposite directions to achieve the same regal effect without needing excessive length.
The Waterfall Braid: Weaving Movement into Texture
Unlike traditional braids that keep all your hair contained, the waterfall braid is designed to let sections ‘fall’ through, creating a cascading, ethereal look. Start near your temple and pick up three sections as if beginning a French braid. After one crossover, drop the bottom section entirely, leaving it to hang loose, and pick up a new strand of hair from the space directly behind the dropped section to replace it. Repeat this process, continuously dropping and picking up new hair. This style is exceptionally stunning on hair with highlights or balayage, as the movement of the ‘waterfall’ strands creates a high-contrast visual depth. It works best on hair that has been curled or waved beforehand, as the extra texture helps hide the points where the new strands are introduced.
Braiding for Fine or Thin Hair
If your hair lacks natural density, you might feel discouraged by braids that look limp. The solution lies in strategic preparation and optical illusions. Before you start, use a volumizing mousse on damp hair and blow-dry it upside down to build root lift. When you braid, avoid pulling the hair tight against the scalp; instead, aim for a ‘loose-tension’ technique that creates the appearance of more volume. Once the braid is secured, use a dry texture spray to add grit and then gently pull on the loops to maximize width. Another trick is to use a small hair donut or a clip-in extension piece hidden at the crown to act as a base, providing the necessary bulk to make your braids look thick and substantial without the weight of heavy styling products.
The Milkmaid Braid: Functional and Chic
The milkmaid braid is a practical solution for active days or humid weather, keeping hair off your neck while maintaining a rustic, charming aesthetic. Divide your hair down the center into two equal sections and create two simple three-strand braids, securing the ends with small elastics. Take the left braid and lift it over the crown of your head, pinning it securely behind your right ear. Then, take the right braid and lift it over the top, nesting it just behind the first braid. By overlapping them slightly, you hide the ends and create a thick, cohesive band of hair across your head. For a more modern, messy look, pull a few wispy strands around your face to soften the lines, and don’t worry if the braids aren’t perfectly symmetrical—the charm of this style lies in its slightly lived-in, bohemian feel.
Integrating Accessories for Elevated Looks
Accessories can transform a standard braid from a utilitarian necessity into a high-fashion statement. Thin silk ribbons are perfect for weaving into a three-strand braid; simply tie the ribbon to the base of one section and treat it as a ‘fourth strand’ throughout the process. For formal occasions, metallic cuffs or small, decorative bobby pins can be placed at the intersections of your braid to add a touch of sparkle. If you are using a scarf, fold it into a long, thin strip and incorporate it into the braid as you weave. This not only adds volume to thin hair but also provides a splash of color that can coordinate with your outfit. Ensure that any heavier jewelry is pinned securely, as the weight can cause the braid to sag over several hours.
Troubleshooting Common Braiding Pitfalls
Even seasoned braiders encounter roadblocks. If you find your braid is pulling too hard on one side, causing an uneven hairline, you are likely holding your hands too far from the scalp. Keep your hands as close to the head as possible to maintain consistent tension and prevent ‘bunching’ at the nape of the neck. If your braid is constantly unraveling, it may be due to the natural oils in your hair. A quick spritz of sea salt spray or a light dusting of root powder can provide the necessary friction to keep the strands locked in place. Should you find yourself with an unsightly ‘gap’ where you added a new section, use a small tail comb to gently push the hair back into place or use a bobby pin to anchor the loose piece before continuing the braid.
Frequently Asked Questions
Q: Why does my braid look messy or uneven after I finish? A: Uneven braids usually result from inconsistent tension or uneven sectioning. Ensure your initial sections are equal in size and try to maintain the same level of tightness throughout the process. Practice is the only way to refine this muscle memory.
Q: Can I braid my hair if it is layered? A: Yes, but it requires more patience. Layers may poke out of the braid. Using a bit of texturizing cream or a light-hold pomade will help keep those shorter, layered pieces tucked into the braid successfully.
Q: How can I make my braids last through the night? A: To preserve a braid, wear a silk or satin sleep bonnet or sleep on a silk pillowcase. This prevents the friction that leads to frizz and keeps the braid from unraveling while you move in your sleep.
Q: Is it better to braid damp or dry hair? A: It is generally best to braid dry hair. Damp hair can stretch when pulled tightly, which can lead to breakage. If you must braid damp hair, use a gentle hand and avoid pulling too tight at the roots.
Q: How do I hide the clear elastic at the end of my braid? A: Take a tiny, thin strand of hair from the tail end of your braid, wrap it around the elastic until it is completely covered, and secure the end of the strand with a bobby pin tucked underneath the braid.
Related posts:
 Ballerina Braid Bun Tutorial
 How to French Braid Your Own Hair
 The Bowl Method for Curly Hair
 Quick Heat-Free Hairstyles
 The Salt Spray Secret to Perfect Beach Hair Every Time
 Hair Slugging Beauty Trend Guide
 The Half-Ponytail Updo Celebrities Can’t Stop Wearing This Season
 Blow Drying Hair Without Damage: Expert Tips