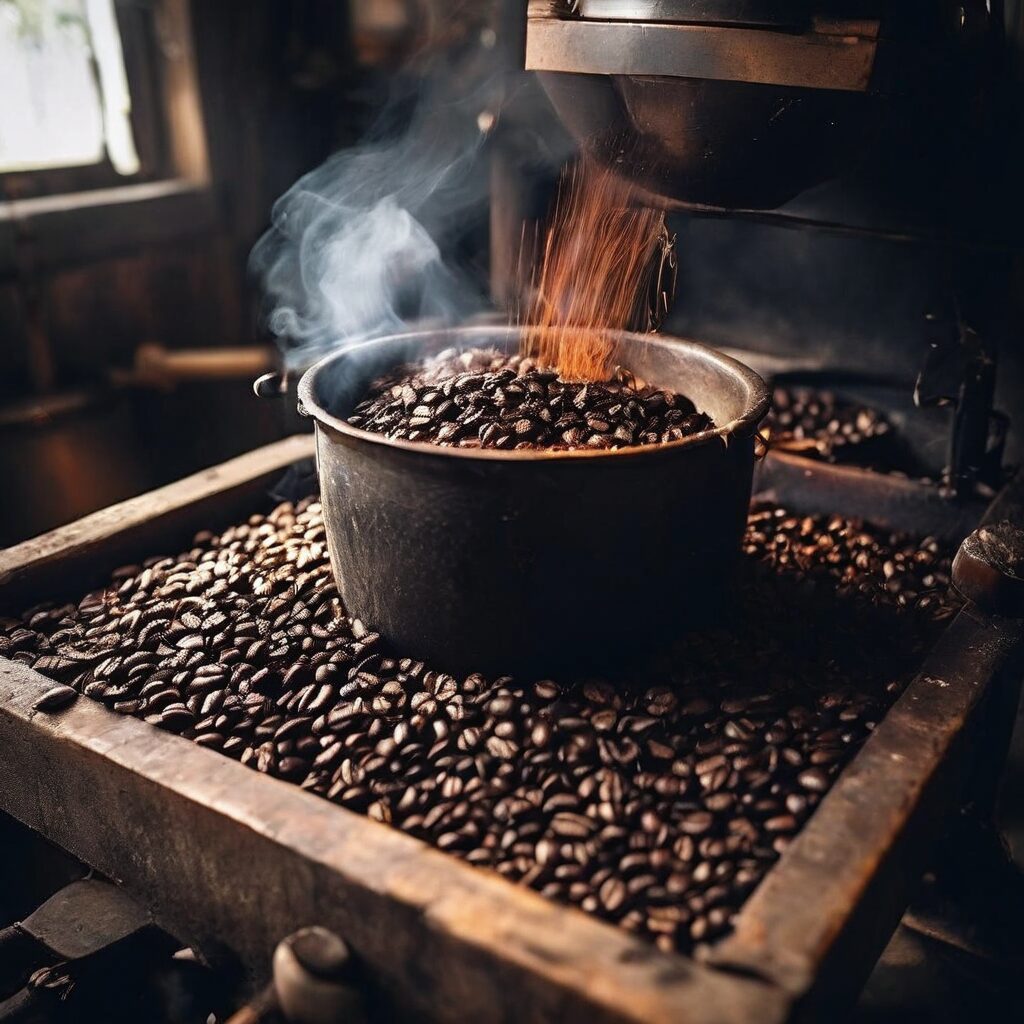
Introduction to Coffee Roasting
Coffee roasting is both an art and a science that transforms green coffee beans into the aromatic, flavorful coffee we love. Understanding the process and techniques behind roasting can elevate your appreciation for coffee and enhance your brewing skills.
The Basics of Coffee Roasting
Roasting coffee involves heating green coffee beans to a specific temperature, causing chemical changes that develop their flavors. The main stages of roasting include drying, browning, and development. Each stage must be carefully controlled to achieve the desired roast level, whether light, medium, or dark.
Types of Coffee Roasts
Coffee roasts can be broadly categorized into three main types:
- Light Roast: Light brown in color, these beans have no oil on the surface and retain much of their original flavor, making them brighter and more acidic.
- Medium Roast: Medium brown with a balanced flavor, these beans have a slightly sweeter and fuller body.
- Dark Roast: Dark brown to almost black, these beans have a glossy surface due to the oils released during roasting, resulting in a bold, rich, and often smoky flavor.
The Roasting Process
The roasting process can be broken down into several key steps:
- Loading: Green coffee beans are loaded into the roaster.
- Drying Phase: The beans are heated to evaporate moisture, turning them yellow.
- Browning Phase: The beans begin to brown as sugars caramelize, producing complex flavors.
- First Crack: The beans expand and crack open, indicating the start of light roasts.
- Development Phase: Roasting continues to achieve the desired roast level, with a second crack for darker roasts.
- Cooling: The beans are quickly cooled to stop the roasting process and preserve flavors.
Tools and Equipment for Coffee Roasting
To roast coffee at home, you’ll need some basic equipment:
- Home Coffee Roaster: A dedicated coffee roasting machine designed for small batches.
- Heat Source: An oven, stovetop, or air roaster can be used for roasting.
- Cooling Tray: A tray or colander to cool the beans quickly post-roasting.
- Thermometer: To monitor the temperature during roasting.
Tips for Perfect Coffee Roasting
Here are some tips to help you achieve the perfect roast:
- Start with Quality Beans: Use high-quality, fresh green coffee beans for the best results.
- Monitor Temperature: Keep a close eye on the temperature to avoid over or under-roasting.
- Listen for Cracks: Pay attention to the first and second cracks to determine roast levels.
- Experiment with Profiles: Try different roasting profiles to find your preferred flavors.
- Cool Quickly: Rapidly cooling the beans preserves their flavor and prevents over-roasting.
Mastering the Maillard Reaction and Caramelization
To truly understand the transformation of a green bean, one must look at the chemistry occurring within the cellular structure during the browning phase. The Maillard reaction is the primary driver of complexity, occurring between 300°F and 400°F. This non-enzymatic browning creates hundreds of different flavor compounds, ranging from nutty and bready notes to savory, malty nuances. It is a delicate balance; if the temperature climbs too rapidly through this window, the beans may taste astringent or burnt, while a sluggish progression leads to a “baked” flavor—a flat, papery profile that strips the coffee of its vibrant character.
Following the Maillard reaction, caramelization takes over, breaking down sugars into simpler compounds. This stage is responsible for the sweetness, body, and deeper caramel or chocolate notes found in medium-to-dark roasts. A seasoned roaster knows that the rate of rise (RoR) during these stages is the most critical metric. By plotting the RoR on a roast curve, you can identify the exact moment to adjust airflow or heat to prevent a “crash” or “flick,” ensuring the sugars are properly developed without carbonizing the bean’s surface.
The Role of Density and Moisture Content
Not all green beans are created equal, and understanding the physical composition of your coffee is vital for success. High-altitude beans, which grow slower, tend to be denser and smaller. These beans require higher initial heat to penetrate their tight cellular structure, or they may end up under-developed in the center while the exterior is scorched. Conversely, low-grown beans are often softer and more porous, making them highly susceptible to heat; they require a more gentle touch to prevent them from roasting too quickly and losing their delicate floral or fruity acidity.
Moisture content also dictates your charge temperature. Beans with higher moisture levels (typically 11-12%) act as a heat sink, requiring more energy during the initial drying phase to evaporate the water before the browning stage can begin. If you fail to account for moisture, you might find yourself with a batch that appears roasted on the outside but tastes grassy or raw on the inside. Always check the humidity level of your storage environment, as green beans are hygroscopic and will absorb or release moisture based on the ambient air.
Advanced Airflow Management and Convection
Airflow in a coffee roaster is not just about smoke removal; it is a primary heat transfer mechanism. Convection roasting uses heated air to circulate around the beans, ensuring even development. By adjusting your airflow, you can manipulate how the heat is applied. Increasing airflow during the development phase can strip away chaff (the thin papery skin) and smoke, which prevents the coffee from absorbing an acrid, ashy taste. This is particularly important for light roasts, where clarity of flavor is the ultimate goal.
Conversely, reducing airflow can help maintain the roaster’s internal energy, which is useful when you want to push a bean toward a darker profile without burning it. Advanced roasters use airflow to “stretch” the development time. By balancing the fan speed against the heat input, you can create a vacuum-like effect that draws heat through the center of the bean, resulting in a more uniform roast from the core to the surface, rather than a “roast-out” where the exterior is significantly darker than the interior.
The Science of Degassing and Resting
The roast is not complete the moment the beans hit the cooling tray. Freshly roasted coffee is saturated with carbon dioxide (CO2), a byproduct of the chemical reactions that occurred in the drum. If you brew coffee immediately after roasting, the excess CO2 will cause rapid degassing, which creates a barrier between the water and the grounds, leading to uneven extraction and a sharp, metallic, or bitter taste. This phenomenon is why “resting” your beans is non-negotiable.
For most light-to-medium roasts, a resting period of 3 to 7 days allows the CO2 to dissipate, effectively “opening up” the coffee and allowing the subtle flavor notes to emerge. Darker roasts, which have a more porous structure, often degas faster, though they may also go stale more quickly due to the increased surface area of the oils. Understanding the degassing curve helps you determine the peak flavor window for a specific origin, ensuring your customers or guests experience the coffee exactly as the roast profile intended.
Troubleshooting Common Roasting Defects
Even the most experienced roasters encounter batches that do not meet expectations. Identifying the cause of a defect is the fastest way to improve. A “tipped” bean, characterized by charred black spots on the edges of the bean, is usually caused by excessive heat during the early stages, causing the sugars on the tips to burn before the core is ready. This creates a harsh, burnt aftertaste. If you notice this, consider lowering your charge temperature or increasing the drum speed to ensure beans aren’t sitting against a hot surface for too long.
Another common issue is “quakers”—under-ripe beans that remain light-colored even after roasting. These are often the result of poor sorting at the farm level rather than the roasting process itself, but they contribute a peanut-like, papery flavor that ruins a batch. Finally, “baked” coffee—which tastes dull and lacks acidity—is almost always the result of a roast that took too long to complete. If your total roast time exceeds 15-18 minutes for a standard batch, you are likely losing the volatile aromatics that make specialty coffee special. Aim for a shorter, more intense development curve to preserve vibrancy.
Sensory Evaluation and Cupping Techniques
To truly master the art, you must develop a systematic way to evaluate your results. Professional cupping is the industry standard for this. By grinding the coffee to a specific coarseness and pouring hot water over it in a controlled environment, you can evaluate the “fragrance” (dry grounds), “aroma” (wet grounds), and “flavor” (the liquid). This process removes the variables associated with brewing methods like espresso or pour-over, allowing you to taste the roast profile in its purest form.
When cupping, look for the “body” (the tactile sensation of the coffee on your tongue), “acidity” (the brightness or sparkle), and “finish” (what lingers after you swallow). Keep a detailed logbook of your roast curves alongside your cupping notes. Over time, you will begin to see patterns: for example, you might notice that a specific Ethiopian bean consistently develops a blueberry note only when the first crack occurs at a specific temperature. This data-driven approach turns roasting from a guessing game into a repeatable science.
Ethical Sourcing and the Green Coffee Lifecycle
The quality of your roast is fundamentally capped by the quality of the green coffee. As a roaster, understanding the supply chain is an extension of the craft. Beans that have been stored in non-climate-controlled warehouses for months will lose their “green” quality and become “baggy” or woody, regardless of how skilled your roasting technique is. Look for importers who provide information on the harvest date and the moisture content.
FAQ
What is the difference between light, medium, and dark roasts?
Light roasts are light brown with a bright, acidic flavor. Medium roasts are medium brown, balanced, and slightly sweet. Dark roasts are dark brown to black, bold, and rich with a smoky flavor.
Can I roast coffee at home without a dedicated roaster?
Yes, you can use an oven, stovetop, or air popper to roast coffee at home, though a dedicated coffee roaster offers more control and consistency.
How do I know when the coffee is properly roasted?
Listen for the first and second cracks during roasting. The first crack signals the start of light roasts, while the second crack indicates a darker roast. The beans’ color and aroma can also guide you.
Why is it important to cool coffee beans quickly after roasting?
Quickly cooling the beans stops the roasting process, preserving their flavor and preventing over-roasting.
How should I store roasted coffee beans?
Store roasted coffee beans in an airtight container, away from light, heat, and moisture to maintain their freshness and flavor.
Related posts:
 Blow Drying Hair Without Damage: Expert Tips
 The Best Time to Drink Coffee in the Morning
 Wine-Infused Coffee Is the Latest Beverage Trend You’ll Love
 Healthiest Coffee Orders
 Why Seattle Is America’s Best Coffee City
 The Sweet Science: Why Honey in Your Coffee Is a Game-Changer
 The Benefits of Coffee
 The Best Cold Brew Coffee Makers for a Refreshing Drink