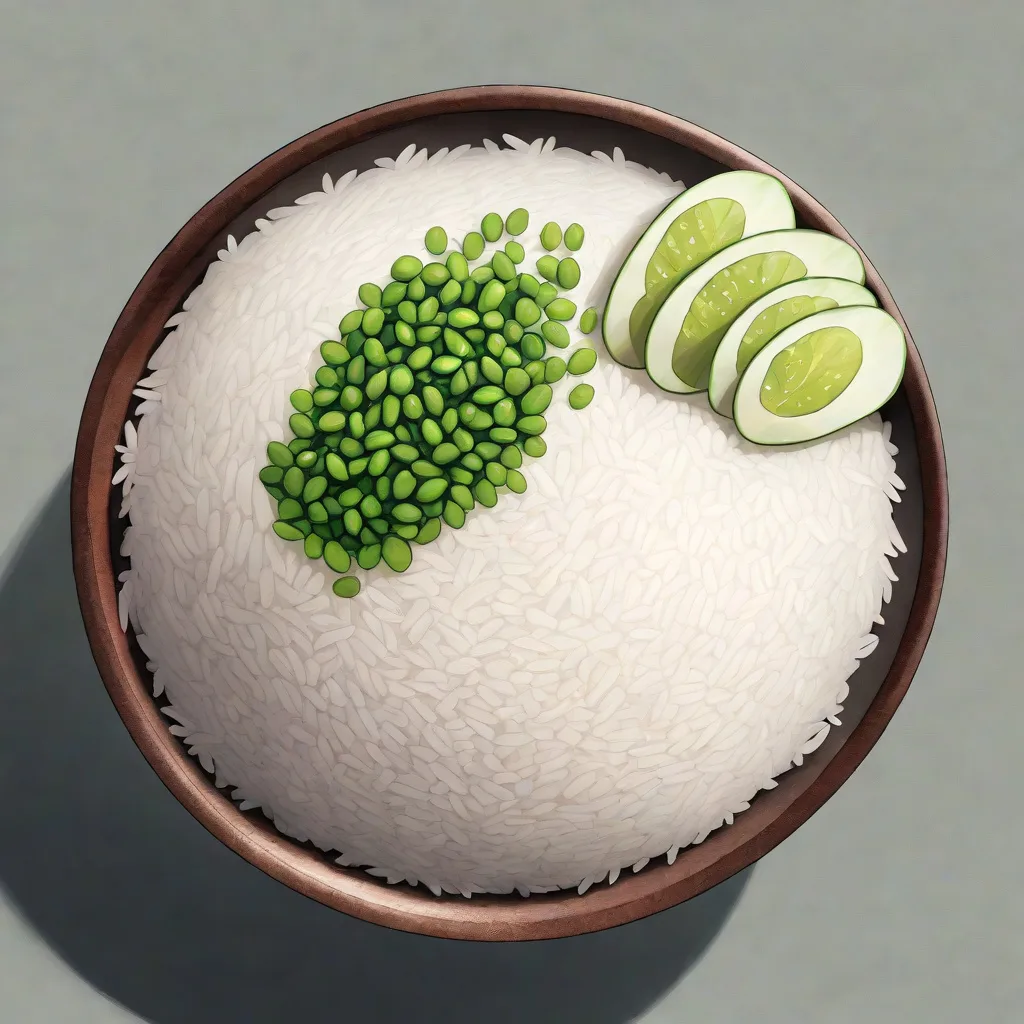
Achieving perfectly fluffy, distinct grains of rice can feel like an elusive culinary art, yet it is fundamentally a science of ratios, heat management, and patience. Whether you are preparing a simple side dish for a weeknight stir-fry or building the foundation for a complex biryani, mastering the stovetop method ensures consistency every single time. By understanding the interaction between water absorption, steam, and starch gelatinization, you can move away from mushy or scorched results and toward restaurant-quality grains in your own kitchen.
The Science of Starch and Rinsing
The primary reason home-cooked rice often turns clumpy or gummy is excess surface starch. Rice grains are coated in a fine powder of amylopectin, a starch that becomes sticky when agitated in water. To achieve the perfect texture, you must rinse your rice until the water runs clear. Place your grains in a fine-mesh sieve and run them under cold tap water, gently swirling with your fingers. This simple step removes the powdery residue that otherwise transforms your pot into a batch of porridge. Once the water draining from the sieve is translucent rather than milky, the rice is prepared to cook evenly without clumping.
Understanding the Water-to-Rice Ratio
While many home cooks rely on the “knuckle method”—measuring water by the depth of your finger—this is notoriously unreliable because it depends on the shape of your pot and the specific variety of rice. For long-grain white rice, the golden ratio is 1.5 cups of water to 1 cup of rice. For short-grain or sushi rice, a 1.25:1 ratio is often superior. It is essential to use a standard measuring cup and be precise. If you are cooking in a high-altitude environment, you may need a slightly higher water-to-rice ratio to account for faster evaporation, but for most sea-level kitchens, these ratios provide the necessary hydration for the grain to soften without becoming waterlogged.
Selecting the Right Pot and Lid
The vessel you choose is just as important as the technique. A heavy-bottomed saucepan or a Dutch oven is ideal because these materials retain heat evenly and prevent hot spots that lead to burning. A tight-fitting lid is the most critical piece of equipment; it must seal effectively to trap the steam. If your lid is loose, place a clean kitchen towel between the pot and the lid to create an airtight seal. This prevents steam from escaping, which is necessary for the rice to cook uniformly from the outside in. Do not use a clear glass lid if it lacks a vent, as you should never lift the lid during the cooking process.
The Absorption Method Process
Begin by combining the rinsed rice and water in your saucepan. Bring the liquid to a gentle boil over medium-high heat. Once the surface of the water begins to bubble, immediately reduce the heat to the lowest possible setting. Cover the pot tightly and set a timer for exactly 18 minutes for white rice. During this time, the rice is absorbing the water through steam convection. It is imperative that you do not stir the rice or lift the lid, as doing so releases the trapped steam and disrupts the temperature equilibrium, leading to unevenly cooked grains.
The Importance of the Resting Period
Many cooks make the mistake of serving the rice the moment the timer goes off. This is a missed opportunity for perfection. Once the 18 minutes have elapsed, remove the pot from the heat source but keep the lid firmly in place. Allow the rice to steam in its own residual heat for at least 10 minutes. This resting period allows the moisture to redistribute evenly throughout the grains, ensuring that the top layer is just as fluffy as the bottom layer. It also firms up the structure of the grains, making them less prone to breaking when you finally fluff them with a fork.
Troubleshooting Common Texture Issues
If your rice turns out slightly undercooked or crunchy, it is likely due to heat being too low or a lid that allowed too much steam to escape. You can salvage this by sprinkling a tablespoon of hot water over the rice, covering it again, and letting it sit off the heat for another five minutes. Conversely, if your rice is too wet, remove the lid and let it sit over the lowest possible heat for an additional two minutes to evaporate excess moisture. Avoid over-fluffing; a gentle touch with a fork is all that is required to separate the grains.
Variations for Brown and Basmati Rice
While white rice follows the standard absorption method, brown rice requires more hydration and time due to the presence of the fibrous bran layer. Use a ratio of 2.25 cups of water to 1 cup of brown rice and increase your simmering time to 45 minutes, followed by a 15-minute rest. Basmati rice, known for its long, delicate grains, benefits from a 30-minute soak in cold water before cooking. This hydrates the grain prior to heating, resulting in longer, lighter, and more aromatic results. Always adjust your expectations based on the specific variety, as whole grains will always require more time and liquid than polished white varieties.
Storing and Reheating Properly
Proper storage is essential for food safety and maintaining quality. If you have leftovers, cool the rice rapidly by spreading it on a flat tray before placing it in an airtight container in the refrigerator. To reheat, add a tablespoon of water to the container and microwave on medium power, or steam it briefly in a pot. Avoid over-reheating, which can lead to the starch retrograding and becoming tough. By treating your leftover rice with care, you can enjoy the same perfect texture the following day.
The Chemistry of Soaking and Grain Expansion
Beyond simple hydration, soaking rice is a transformative process that alters the internal structure of the endosperm. When dry rice is submerged in water, the grains undergo a process of controlled expansion. For aromatic varieties like Jasmine or Basmati, this soak allows the cell walls to soften gradually, which prevents the outer layer from bursting during the high-heat phase of cooking. By soaking for 20 to 30 minutes, you allow the moisture to penetrate the center of the grain uniformly. This results in a more consistent gelatinization process, where the starch molecules swell evenly rather than the outside becoming mushy while the core remains chalky. For those seeking restaurant-grade, elongated grains, this step is non-negotiable; it creates a structural integrity that withstands the agitation of serving.
The Impact of Water Quality and Mineral Content
The chemical composition of your tap water can significantly influence the final flavor and texture of your rice. In regions with “hard” water, high concentrations of calcium and magnesium can interact with the starches, potentially toughening the exterior of the grain and requiring slightly longer cooking times or a splash of acidity, such as a drop of lemon juice, to balance the pH. Conversely, if your water is highly chlorinated, the flavor can impart a chemical bitterness to the rice. For the most neutral and consistent results, filtered water is recommended. Using water that is free from excess minerals and chlorine allows the natural, delicate sweetness of the rice to shine, ensuring that your base layer is a canvas for your meal rather than a distraction.
Mastering the “Bloom” with Aromatics and Fats
To elevate your rice from a side dish to a centerpiece, consider the technique of blooming aromatics in fat before adding water. By sautéing whole spices—such as a stick of cinnamon, a few green cardamom pods, or a star anise—in a teaspoon of ghee or neutral oil until fragrant, you infuse the fat with flavor. Adding your rinsed and dried rice to this hot, infused fat and toasting it for one to two minutes before adding water creates a protective barrier around each grain. This “toasting” phase, often seen in pilaf-style cooking, helps keep the grains distinct and prevents the absorption of too much liquid, resulting in a nutty, rich, and highly textured final product that pairs exceptionally well with robust curries and stews.
The Role of Pot Geometry in Steam Distribution
The shape of your cooking vessel dictates the path that steam takes as it travels through the rice. A wide, shallow pan is often superior to a tall, narrow pot because it increases the surface area, allowing for a more uniform distribution of heat. In a tall pot, the rice at the bottom is subjected to the weight of the rice above it, which can compress the grains and lead to clumping. When using a wide-bottomed pan, the grains are distributed in a thinner layer, ensuring that every grain has equal access to the rising steam. If you notice your rice is consistently uneven, look at the ratio of diameter to height in your cookware; a pan that allows the rice to sit in a shallower bed will almost always yield a more uniform, fluffy result.
Handling Specialized Varieties: Forbidden, Red, and Wild Rice
Not all rice is created equal, and pigmented varieties like Forbidden (black) rice or Bhutanese red rice require a different approach due to their intact bran and germ layers. These varieties are higher in fiber and possess a chewier, heartier texture. Unlike white rice, which relies on rapid starch gelatinization, these grains benefit from a “soak-and-simmer” approach. For these varieties, increase the water ratio to 2.5:1 and do not hesitate to extend the simmering time to 50 or 60 minutes. Because of their dense outer coatings, these grains are less prone to becoming mushy, so you can be more liberal with the water. The result is a vibrant, nutrient-dense rice with a pleasant “pop” that adds complexity to salads and grain bowls.
The Art of Fluffing and Aeration
The final step of fluffing is often performed incorrectly, with many cooks using a spoon that crushes the delicate grains. To achieve the best texture, always use a fork or a traditional wooden rice paddle (shamoji). Start by gently folding the rice from the bottom of the pot toward the top, moving in a circular motion. This action breaks up any remaining clumps and releases the excess steam that would otherwise continue to cook the rice and make it gummy. Aeration is key; by exposing the rice to the air for a few seconds during this process, you stop the cooking process immediately and create the light, airy texture that defines perfect rice. If you are serving immediately, do this fluffing right before plating to ensure the grains remain distinct and warm.
Environmental Adjustments: Humidity and Altitude
Your kitchen environment plays an invisible role in the success of your rice. In high-humidity environments, rice grains may naturally absorb moisture from the air, meaning they require slightly less water in the pot. Conversely, in arid climates, the evaporation rate is significantly higher, often requiring an extra quarter-cup of water to compensate for the steam lost through the lid. If you are cooking at high altitudes, the boiling point of water is lower, which means your rice will take longer to cook through. In these scenarios, it is better to rely on the “visual check” of the grains rather than strict timing. If the rice looks dry but the timer has gone off, add a small amount of boiling water and continue to steam, as the lower boiling point may not be sufficient to fully gelatinize the starch in the standard 18-minute window.
Frequently Asked Questions
Q: Why does my rice always stick to the bottom of the pot? A: This usually happens because the heat is too high or the pot is too thin. Using a heavy-bottomed pot and ensuring the heat is at the absolute lowest setting after the initial boil will prevent scorching. Q: Should I add salt or oil to the water? A: Adding a pinch of salt enhances flavor, and a teaspoon of neutral oil or butter can help prevent grains from sticking together, though it is not strictly necessary for a perfect texture. Q: Can I cook rice in a microwave? A: While possible, it is difficult to achieve the same even texture as the stovetop absorption method. Stovetop cooking allows for better control over the steam environment. Q: Is it necessary to soak rice? A: Soaking is recommended for basmati and some jasmine varieties to achieve maximum grain length and fluffiness, but it is not required for standard long-grain white rice. Q: How long can I keep cooked rice in the fridge? A: For optimal safety and quality, consume cooked rice within three to four days. Always ensure it is stored in a sealed container to prevent it from drying out.
Related posts:
 Candice Kumai’s Healthy Turmeric Fried Rice Recipe
 Instant Pot Aura Deal
 One Pan Wonder: The Fried Rice Recipe That Will Change Your Meal Prep Game
 15-Minute Dairy-Free Dinner Ideas
 Rice Revealed: Is This Pantry Staple Actually Good for You
 Instant Pot Apple Butter Recipe
 Perfect Somen Noodles Recipe
 Chickpea Rice Is Here to Replace Your Grain Game