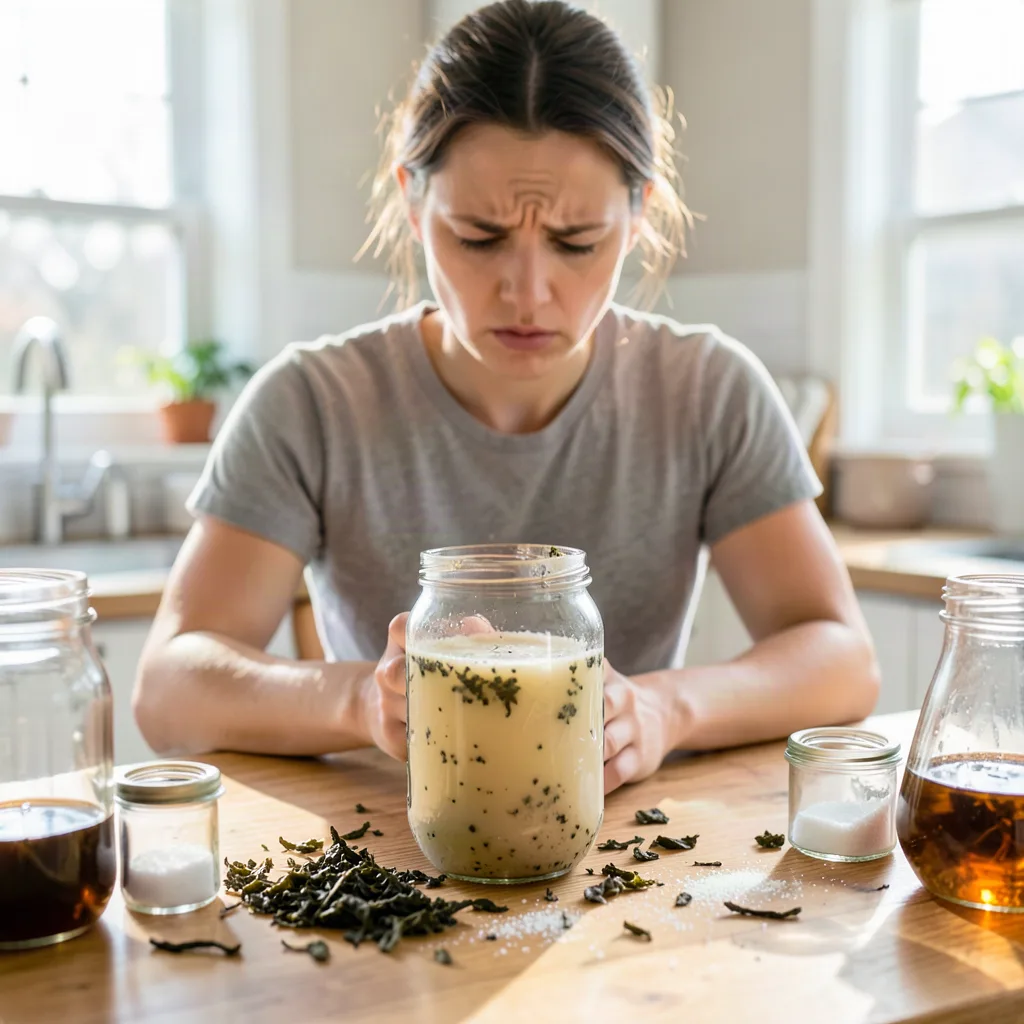
The allure of home-brewing kombucha is undeniable. For many, it begins as a desire to save money on expensive store-bought bottles, a curiosity about fermentation, or a commitment to a more probiotic-rich diet. The process seems straightforward on paper: tea, sugar, a SCOBY, and a bit of patience. However, once the jar is set on the counter, many beginners discover that they aren’t just making a beverage; they are managing a living ecosystem. Brewing kombucha is as much an art as it is a science, and the transition from a recipe to a consistent, delicious drink is often fraught with unexpected hurdles.
Key takeaways
- Maintain a SCOBY hotel as a backup culture and avoid using metal utensils that can harm the bacteria.
- Use pressure-rated swing-top bottles for the second fermentation to prevent glass breakage from carbonation.
- Prioritize organic, additive-free teas and filtered water to avoid inhibiting the health of your fermentation culture.
- Perform regular taste tests starting at day five to achieve your preferred balance of sweetness and acidity.
p>
While the rewards of a perfectly fizzy, tart glass of home-brewed tea are immense, the journey is rarely a straight line. From the visceral reaction to the appearance of the SCOBY to the anxiety of a potential “bottle bomb” during the second fermentation, the challenges are varied. Understanding these obstacles beforehand doesn’t make the process less complex, but it does make the brewer more resilient and the results more predictable. This guide explores the surprising challenges of brewing kombucha at home and provides actionable strategies to overcome them.
Understanding the SCOBY: The Living Heart of the Brew
The most immediate challenge for any new brewer is the SCOBY, or Symbiotic Culture Of Bacteria and Yeast. To the uninitiated, a SCOBY can be visually off-putting. It is a rubbery, gelatinous disc that often looks like a pale pancake or a strange organic growth. The first psychological hurdle is simply getting comfortable with the “weirdness” of the culture. Many beginners struggle with “SCOBY anxiety,” questioning if the growth is healthy or if the strange brown stringy bits (which are actually healthy yeast) are signs of contamination.
Beyond the aesthetics, maintaining the health of the SCOBY is a constant balancing act. The culture requires a specific environment to thrive. If the tea is too hot when the SCOBY is added, the heat can kill the delicate bacteria and yeast, effectively “killing” your starter. Conversely, if the environment is too sterile or the tea is too weak, the SCOBY may struggle to grow, leading to a slow fermentation process that leaves the brew vulnerable to outside contaminants.
Actionable Guidance: To manage your SCOBY, keep a “SCOBY hotel”—a separate jar with starter liquid and a few spare cultures. This ensures that if a primary batch goes wrong, you have a backup. Always use a clean, non-metal utensil (like plastic or wood) to handle the culture, as prolonged contact with metal can react with the acidity of the brew and potentially harm the SCOBY.
The Temperature Tightrope: Managing Environmental Factors
Kombucha is incredibly sensitive to temperature. The ideal range for fermentation is typically between 75°F and 85°F (24°C to 29°C). However, maintaining this consistency in a home environment is surprisingly difficult. Most kitchens fluctuate in temperature throughout the day and across seasons, which directly impacts the speed and flavor of the fermentation.
When the temperature drops below 70°F, the yeast and bacteria slow down significantly. This extends the fermentation time, which can lead to a bland taste or, more dangerously, give opportunistic molds a window to take hold before the brew becomes acidic enough to protect itself. On the other hand, excessive heat can accelerate the process too quickly. While this might seem like a shortcut, high temperatures often favor the yeast over the bacteria, resulting in a brew that is overly alcoholic or has an unpleasant, “yeasty” off-flavor.
Practical Example: A brewer in a cold climate during winter might find their kombucha taking four weeks to ferment instead of the usual ten days. To solve this, they might use a seed heating mat or place the jar on top of a refrigerator where the ambient heat from the compressor keeps the brew warm.
Contamination and the Dreaded Mold: Identifying Risks
The fear of mold is perhaps the most significant stressor for home brewers. Because kombucha is a fermentation process, it relies on the “good” microbes winning the race against the “bad” ones. The primary defense mechanism is acidity; as the bacteria consume sugar, they produce acetic acid, lowering the pH of the liquid and making it inhospitable to mold.
The challenge lies in the early stages of brewing or when using a weak starter liquid. If the pH doesn’t drop quickly enough, mold can appear on the surface. The difficulty for beginners is distinguishing between healthy yeast and harmful mold. Healthy yeast looks like brown, stringy clumps or bubbles suspended in the liquid. Mold, however, is typically fuzzy, dry, and appears in distinct circular patches of white, green, or black on the surface of the SCOBY.
Actionable Guidance: To minimize contamination risks, prioritize sterilization. While you don’t need a laboratory, rinsing your jars with distilled white vinegar is more effective than soap alone, as vinegar removes residue and creates an acidic environment. If you spot fuzzy mold, do not attempt to “scrape it off.” Because mold hyphae (roots) penetrate deep into the liquid, the entire batch—including the SCOBY—must be discarded and the equipment thoroughly sterilized.
The Flavor Balance Struggle: Sweet vs. Sour
Achieving the perfect flavor profile—a balance of sweetness and tang—is a moving target. Because every home environment is different, a recipe that takes seven days for one person might take twelve for another. The challenge is knowing exactly when to stop the first fermentation (F1). If you harvest too early, the drink is overly sweet and lacks the characteristic zing. If you wait too long, it transforms into kombucha vinegar, which is great for salads but unpleasant to drink.
Many beginners rely solely on a calendar, but the calendar is a liar in the world of fermentation. Factors like the type of tea used, the amount of sugar, and the health of the SCOBY all influence the taste. The struggle is often an emotional one: the desire to be “done” with the process versus the need to wait for the flavor to develop.
Actionable Guidance: Implement a “taste test” protocol. Starting on day five or seven, use a clean straw to sip the brew from beneath the SCOBY. Look for the point where the sugar is mostly gone, but the acidity is still bright and refreshing. If it tastes like apple cider vinegar, you’ve gone too far; if it tastes like sweet tea, it needs more time.
The Second Fermentation Hurdle: Carbonation and Bottle Bombs
The first fermentation creates the flavor, but the second fermentation (F2) creates the bubbles. This is where many brewers encounter their most frightening challenge: the “bottle bomb.” To get carbonation, you bottle the kombucha with fruit or sugar and seal it airtight. The remaining yeast consumes these new sugars, releasing carbon dioxide (CO2). If too much CO2 builds up in a bottle that cannot handle the pressure, the glass can shatter.
Managing pressure is a precarious game. Under-carbonated kombucha feels like flat soda, while over-carbonated kombucha can erupt like a volcano when opened, wasting half the batch and creating a massive mess. The challenge is compounded by the variety of fruits used; some fruits, like ginger or pineapple, ferment much more aggressively than others, leading to unpredictable pressure levels.
Practical Example: A brewer using a standard decorative glass bottle instead of a pressure-rated swing-top bottle may find the glass cracking under the pressure of a ginger-infused F2. Switching to heavy-duty, fermentation-specific bottles is a critical safety upgrade.
Equipment and Space Management: The Hidden Logistics
Brewing kombucha requires more than just a jar; it requires a dedicated space. One of the surprising challenges is the “kombucha creep”—the way the hobby begins to take over the kitchen. You need space for the active brew, space for the SCOBY hotel, and refrigerator space for the finished bottles. Because the brew needs to be away from direct sunlight but in a warm area, finding the “perfect spot” can be a logistical puzzle.
Furthermore, the equipment requirements are specific. You cannot use certain metals because the acidity of the kombucha can leach metals into the brew, which can be toxic and harmful to the SCOBY. This means investing in glass, food-grade plastic, or stainless steel. The constant need for cleaning—jars, bottles, funnels, and stirring spoons—adds a layer of daily chore-work that some find tedious.
Actionable Guidance: Create a designated “fermentation station.” Use a plastic tray to catch any drips or leaks and keep all your brewing supplies in one organized bin. This prevents the process from cluttering your living space and ensures that you have everything you need within reach, reducing the likelihood of contamination from moving jars around the house.
Sourcing Ingredients: Quality Control for a Stable Brew
Not all tea and sugar are created equal in the eyes of a SCOBY. A common challenge for beginners is using the wrong ingredients, which can lead to a stalled fermentation. For example, teas with added oils (like Earl Grey) or artificial flavorings can inhibit the growth of the bacteria or even kill the culture. Similarly, using honey instead of cane sugar creates a different type of fermentation (Jun) that requires a different starter.
Water quality is another hidden variable. Many municipal water sources contain chlorine or chloramine to kill bacteria. While this is great for public health, it is detrimental to a SCOBY, which is itself a colony of bacteria. Using tap water can weaken the culture over time, leading to inconsistent batches and a higher risk of mold growth.
Actionable Guidance: Stick to organic black or green tea (or a blend) without additives. Use plain white cane sugar for the most stable results. To handle water issues, either use filtered water or boil your tap water for 10 minutes to allow the chlorine to evaporate before brewing your tea.
The Patience Game: Managing Expectations and Timelines
Finally, the overarching challenge of home brewing is the mental shift toward “slow living.” We live in an era of instant gratification, but fermentation cannot be rushed. There is a specific frustration that comes with waiting ten days for a batch, only to find it’s too sour, or waiting two weeks only to find it has molded.
The learning curve is steep. The first few batches are rarely perfect. The challenge is maintaining the motivation to continue after a failure. Many brewers give up after their first moldy batch, not realizing that fermentation is a skill developed through trial and error. The transition from “following a recipe” to “listening to the brew” takes time and a willingness to fail.
Actionable Guidance: Keep a brewing log. Note the date, the temperature of your kitchen, the type of tea used, and the day you bottled it. When you finally hit that “perfect” flavor, you will have a data-backed roadmap to recreate it. Treat each failed batch not as a loss, but as a lesson in the biology of your specific home environment.
Frequently Asked Questions
Q: How can I tell the difference between a healthy SCOBY and mold?
A: Healthy SCOBYs are smooth, rubbery, and can be white, cream, or tan. They often have brown, stringy yeast clumps hanging from them or floating in the liquid. Mold is the opposite: it is dry, fuzzy, and usually appears as a distinct circular patch on the surface. If it looks like a piece of bread with mold on it, it is likely mold and the batch should be discarded.
Q: Is it safe to use any kind of glass bottle for the second fermentation?
A: No. It is highly recommended to use “flip-top” or “swing-top” bottles specifically designed for fermentation. These have thick glass walls and a strong seal that can withstand the pressure of CO2. Regular decorative bottles or thin-walled jars can explode under pressure, posing a significant safety risk.
Q: Why is my kombucha not getting fizzy during the second fermentation?
A: Lack of carbonation usually stems from three things: a lack of sugar (the yeast needs fuel to create CO2), a seal that isn’t airtight, or a temperature that is too cold. Try adding a small amount of fruit puree or a teaspoon of sugar to your bottles and move them to a warmer spot for 2-3 days.
Q: Can I use honey or maple syrup instead of white sugar?
A: While possible, it is challenging for beginners. SCOBYs are optimized to consume sucrose (cane sugar). Honey contains antimicrobial properties that can stress a standard SCOBY, and maple syrup has a different nutrient profile. For your first few batches, stick to white cane sugar to ensure the culture stays healthy.
Q: How often should I change the tea and sugar for my SCOBY?
A: In a primary brew, you change the liquid every time you start a new batch (typically every 7-21 days). In a “SCOBY hotel,” you should refresh the liquid every 3-4 weeks to ensure the cultures have enough nutrients to stay dormant but healthy.
Related posts:
 The Best Kombucha Starter Kits for Brewing at Home
 Cold Brew Wine Innovation
 Why SCOBY Might Be the Secret Ingredient Your Skincare Routine Needs
 Reading Kombucha Labels: What You Need to Know
 How to Make the Perfect Pitcher of Iced Tea Every Time
 Portland: America’s Kombucha Capital
 The Best Cold Brew Coffee Makers for a Refreshing Drink
 Is Kombucha Making Your IBS Worse?