Introduction
Working out your legs is so important for overall health and fitness. Strong legs allow us to move through life with ease, playing with our kids, going for walks, chasing dreams. Yet many of us neglect properly training our lower bodies.
Key takeaways
- Use the tripod foot technique during squats to maintain a stable arch and prevent knees from collapsing inward.
- Increase intensity using Time Under Tension by slowing the eccentric phase or employing the Double Progression method.
- Incorporate single-leg exercises to address muscular imbalances and engage hip stabilizers like the gluteus medius.
- Distinguish between knee-dominant squats and hip-dominant hinges to maximize hamstring engagement and protect the lower back.
- Perform ankle and hip flexor mobilizations before training to improve squat depth and ensure full glute activation.
Full Body Benefits
This leg workout hits all the major muscles groups in your lower half. You’ll target the glutes, hamstrings, quads and calves. Strengthening these muscle groups provides full body benefits:
- Improves posture and spinal alignment
- Supports joint health in hips and knees
- Boosts circulation
- Increases bone density
The Workout
This workout incorporates resistance training and cardio for maximum benefits. You’ll need access to weights or resistance bands as well as room for jumping exercises.
Always warm up first before jumping into these challenging moves. March in place or go for a light jog to get blood flowing to muscles.
Glutes
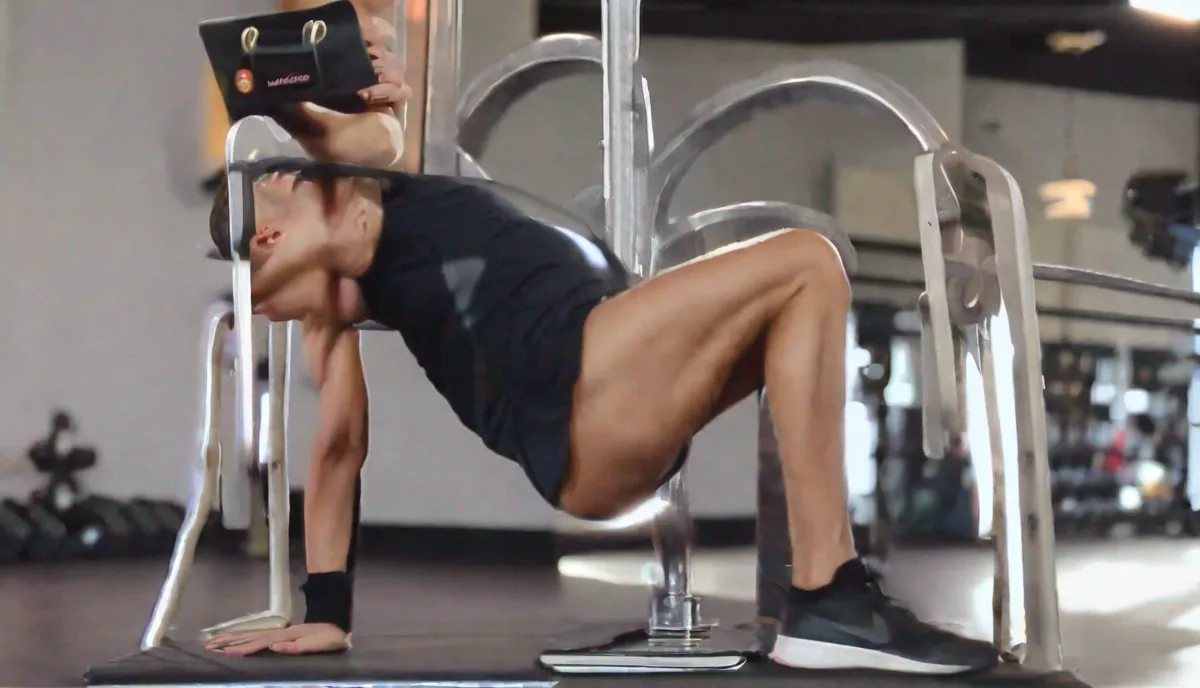
- Glute bridges – 15 reps
- Donkey kicks – 10 per leg
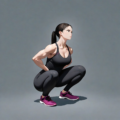
- Squats – 15 reps
Hamstrings
- Romanian Deadlift – 12 reps
- Single leg RDL – 10 per leg
- Hamstring curls on exercise ball – 15 reps
Quads
- Forward lunges – 12 per leg
- Side lunges – 10 per leg
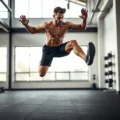
- Jump squats – 15 reps
Calves
- Calf raises – 25 reps
- Jumping jacks – 40 reps
- High knees – 30 seconds
Recovery
Be sure to stretch thoroughly after this workout targeting all muscle groups. Foam roll tight spots and refuel your body with a healthy snack containing protein and carbs.
Biomechanical Precision: Refining Your Squat and Hinge Patterns
While the basic movements of the leg workout are straightforward, achieving true physiological adaptation requires a deep understanding of biomechanics. For instance, when performing the squats mentioned earlier, the concept of the “tripod foot” is essential. This involves maintaining three points of contact with the floor: the base of the big toe, the base of the pinky toe, and the center of the heel. By rooting your feet this way, you create a stable arch, which prevents the knees from collapsing inward—a common issue known as knee valgus. This alignment ensures that the force is distributed evenly across the quadriceps and glutes rather than placing undue stress on the medial collateral ligament (MCL).
Furthermore, distinguishing between a “squat pattern” and a “hinge pattern” is a game-changer for lower body development. The squats and lunges in this routine are knee-dominant, meaning the primary movement occurs at the knee joint to target the quads. Conversely, the Romanian Deadlift (RDL) is a hip-dominant hinge. A common mistake is turning the RDL into a squat by bending the knees too much. To execute a perfect hinge, imagine there is a string attached to your tailbone pulling you toward the wall behind you. Your shins should remain nearly vertical while your hips move horizontally backward. This maximizes the stretch on the hamstrings and the engagement of the gluteus maximus, preventing the lower back from taking over the load. For those with limited hamstring flexibility, the “edge case” here is to only descend until the point where your hips stop moving backward; forcing extra depth usually results in spinal rounding, which we want to avoid at all costs.
Advanced Progression Strategies: Moving Beyond Static Rep Ranges
To continue seeing results from this leg workout, you must eventually move beyond the suggested rep ranges through progressive overload. This doesn’t always mean adding more weight; you can manipulate “Time Under Tension” (TUT) to increase intensity. For example, when performing glute bridges or squats, try a 4-0-1-0 tempo. This means taking four full seconds to lower your body (the eccentric phase), zero seconds at the bottom, one second to explode upward (the concentric phase), and zero seconds of rest at the top. This prolonged eccentric phase creates more micro-tears in the muscle fibers, leading to greater hypertrophy and strength gains without needing heavier dumbbells.
Another powerful progression tool is the “Double Progression” method. If the workout calls for 12 reps of RDLs, stay at your current weight until you can comfortably perform 15 reps with perfect form. Once you hit that upper threshold, increase the resistance slightly and drop back down to 10 or 12 reps. This systematic approach ensures that you are constantly challenging your neuromuscular system. For bodyweight exercises like jump squats, you can increase intensity by shortening the rest intervals. Reducing your rest from 60 seconds to 30 seconds forces your muscles to recover faster and improves your anaerobic capacity, making the workout as much a cardiovascular challenge as a muscular one.
The Power of Unilateral Training: Eliminating Strength Asymmetries
The inclusion of single-leg RDLs and lunges in this routine serves a critical purpose: addressing the “bilateral deficit.” Most people have a dominant leg that tends to take over during bilateral movements like standard squats or glute bridges. Over time, this can lead to muscular imbalances that shift the pelvis and cause chronic lower back or hip pain. Unilateral training forces each leg to carry its own weight, literally and figuratively. This not only builds symmetry but also engages the stabilizers of the hip, such as the gluteus medius and minimus, which are often neglected in standard two-legged exercises.
When performing unilateral moves, you may notice that your balance is shaky. This is an edge case where the nervous system is struggling to coordinate the movement. To fix this, focus on a fixed point on the floor about three feet in front of you. Additionally, the core must work significantly harder to prevent the torso from rotating. If you find the single-leg RDL particularly difficult, try the “B-Stance” or kickstand RDL first. Keep 90% of your weight on the working leg and use the toes of the other leg behind you just for balance. This allows you to reap the benefits of unilateral loading while maintaining the stability needed to push the muscle to failure safely.
Maximizing the Posterior Chain: The Synergy of Glutes and Hamstrings
The posterior chain—comprising the hamstrings, glutes, and erector spinae—is the powerhouse of the human body. While the existing workout targets these individually, understanding their synergy can enhance your results. During the glute bridge, for example, many people feel the movement in their lower back rather than their glutes. This is usually due to an anterior pelvic tilt. To correct this, perform a “posterior pelvic tilt” before lifting: tuck your tailbone under and flatten your lower back against the floor. As you lift, drive through your heels and visualize pulling your heels toward your glutes. This isometric contraction of the hamstrings during the bridge creates a more intense contraction in the glutes.
The hamstrings are unique because they cross two joints: the hip and the knee. This is why the workout includes both RDLs (hip-dominant) and hamstring curls (knee-dominant). To get the most out of the exercise ball hamstring curls, keep your hips elevated and in a straight line from your knees to your shoulders throughout the entire movement. If your hips sag, you lose the tension on the hamstrings. For an advanced variation, try the eccentric-only single-leg curl: pull the ball in with both legs, lift one leg off, and slowly extend the ball back out using only the other leg. This eccentric overload is one of the most effective ways to prevent hamstring strains in athletes and runners.
Integrating Plyometrics for Explosive Lower Body Power
The inclusion of jump squats and high knees introduces plyometric training, which focuses on the “stretch-shortening cycle” (SSC). This is the ability of the muscle and tendon to store elastic energy during a rapid stretch and release it explosively. To maximize the benefit of jump squats, the transition between landing and jumping should be as short as possible. However, safety is paramount. You must land “softly” by rolling from the balls of your feet to your heels and immediately absorbing the impact by hinging at the hips and knees. If your landings are loud or jarring, you are placing excessive stress on your meniscus and patellar tendons.
For those who find high-impact jumping too taxing on the joints, an excellent modification is the “power squat.” Perform the squat as usual, but instead of leaving the floor, explode upward as fast as possible and finish on your tiptoes (a calf raise). This provides the explosive intent without the impact. Plyometrics also have a unique effect on the nervous system, known as Post-Activation Potentiation (PAP). Doing a few explosive jump squats before your heavy lunges can actually “wake up” more motor units, allowing you to lift more weight or perform more reps in the subsequent strength exercises. This makes the order of exercises a strategic tool for better performance.
Equipment Adaptations: Scaling the Workout for Every Environment
While this workout can be done with minimal gear, knowing how to adapt it for different equipment can prevent plateaus. If you only have resistance bands, you can wrap them around your knees during squats and glute bridges to add “abductor tension.” This forces the glutes to work against the band to keep the knees from caving in, significantly increasing the burn in the side of the hips. For lunges, holding a single heavy weight in one hand (a suitcase carry position) rather than two weights will challenge your obliques and core stability even further, as you have to resist the weight pulling you to one side.
In a gym setting, the hamstring curls on an exercise ball can be progressed to a lying leg curl machine or even a Nordic hamstring curl if you have a partner to hold your ankles. For the calf raises, don’t just do them on flat ground. Finding a ledge or a step allows for a greater range of motion, letting the heels drop below the level of the toes. This deep stretch at the bottom of the movement is crucial for calf hypertrophy, as the gastrocnemius responds well to being stretched under load. If you are traveling and have no equipment at all, use “1.5 reps” for your squats and lunges: go all the way down, come halfway up, go back down, and then stand all the way up. This effectively doubles the time the muscle spends in its most difficult position.
Mobility and Prehabilitation: Safeguarding the Lower Body Joints
A truly effective leg workout isn’t just about the work; it’s about the preparation and the maintenance of the joints involved. Many people struggle with squat depth not because of weak legs, but because of poor ankle dorsiflexion. If your heels lift off the ground when you squat, your ankles are likely tight. A simple fix is to spend 30 seconds before your workout doing “wall ankle mobilizations,” where you drive your knee toward a wall while keeping your heel planted. This increases the available range of motion, allowing for a more upright torso during squats and lunges, which protects the lower back.
Additionally, the hip flexors often become chronically tight from prolonged sitting, which can “turn off” the glutes through a process called reciprocal inhibition. To counter this, include the “Couch Stretch” or a deep kneeling hip flexor stretch in your warm-up or recovery routine. By opening up the front of the hips, you allow the glutes to contract fully during bridges and squats. Finally, don’t overlook the importance of the tibialis anterior (the muscle on the front of your shin). Doing a few sets of “tibialis raises” (leaning against a wall and lifting your toes) can help stabilize the knee and prevent shin splints, especially if you are doing the high-impact jumping jacks and high knees included in this routine. Treating your leg day as a balance of mobility, stability, and strength is the key to long-term progress and injury prevention.
FAQ
What if I can’t do all the reps?
Modify as needed. Drop down to lower weights or reduce reps. The most important thing is maintaining proper form.
Can I swap out any exercises?
Absolutely. Choose moves that feel good for your body targeting the same muscle groups.
How often should I do this workout?
Every 3-4 days is sufficient for lower body. Listen to your body and schedule rest days.
What if I experience pain during/after?
Stop immediately if you feel any joint pain. Sore muscles are OK but sharp joint pain is a sign to stop. Consult a physical therapist if it persists.
Can beginners do this workout?
Yes. Scale intensity to your current fitness level. Substitute low impact cardio like brisk walking if needed.