Introduction
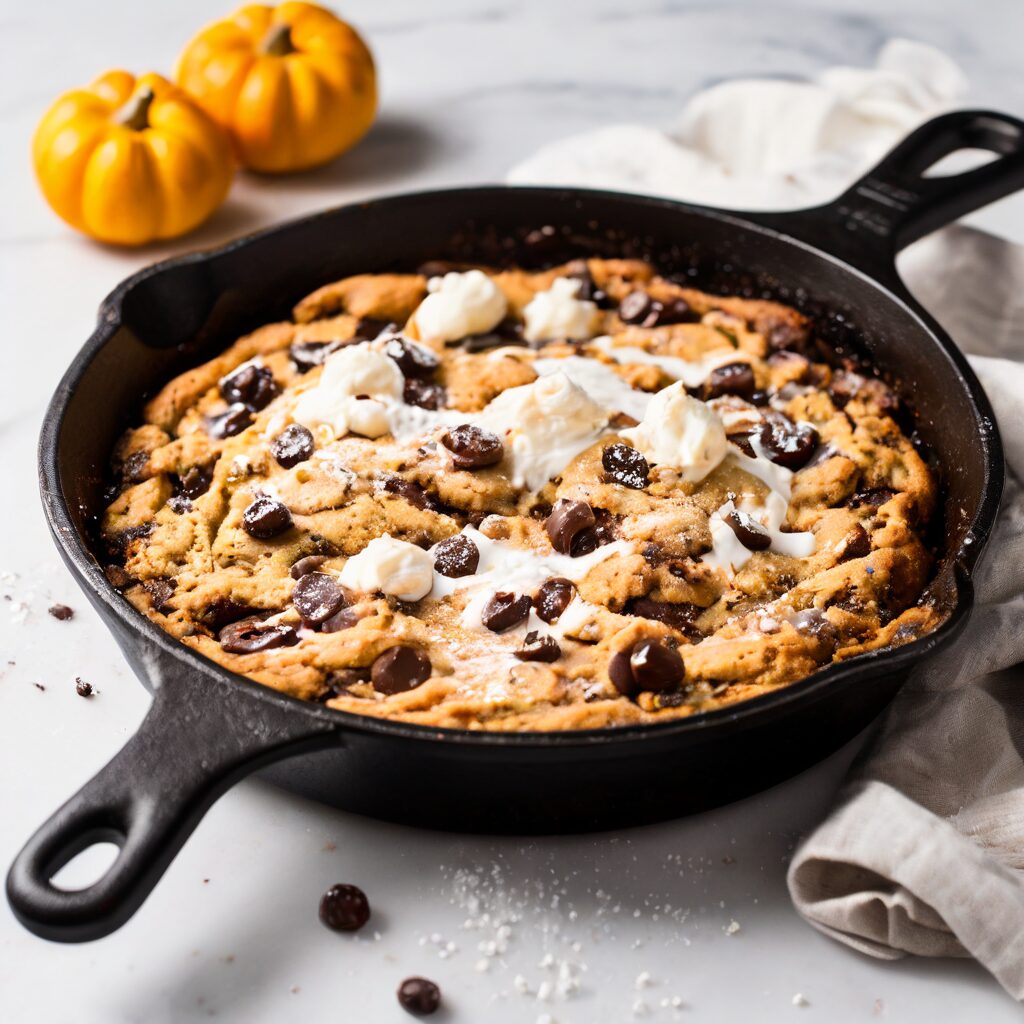
The holiday season is upon us, and with it comes the joy and stress of holiday baking. If you’re searching for a quick, easy, and delicious dessert to impress your guests, look no further than the skillet cookie. This versatile, giant cookie baked in a skillet combines the best of both worlds—crispy edges and a soft, gooey center. Let’s dive into why the skillet cookie is your ultimate holiday baking savior.
Key takeaways
- Use a preheated cast-iron skillet to achieve the Maillard reaction for perfectly caramelized edges and a satisfying crunch.
- Avoid overmixing the dough and ensure your melted butter and eggs are at room temperature for the ideal cookie texture.
- Rotate your skillet halfway through baking to compensate for uneven oven heat and prevent hot spots.
- Customize your cookie with festive mix-ins like dried cranberries, toasted nuts, or warm holiday spices.
Why Choose a Skillet Cookie?
Baking a skillet cookie offers several advantages over traditional cookies. Firstly, it’s a time-saver. Instead of scooping out individual cookies, you pour all the dough into one skillet. Secondly, it ensures even baking, giving you a perfect texture with minimal effort. Lastly, it’s a crowd-pleaser. Who can resist a warm, gooey cookie fresh out of the oven?
Ingredients You’ll Need
- 1 cup unsalted butter, melted
- 1 cup granulated sugar
- 1 cup brown sugar, packed
- 2 large eggs
- 1 tablespoon vanilla extract
- 3 cups all-purpose flour
- 1 teaspoon baking soda
- 1/2 teaspoon salt
- 2 cups chocolate chips
Step-by-Step Instructions
- Preheat your oven to 350°F (175°C). Grease a 12-inch oven-safe skillet with non-stick spray or butter.
- In a large bowl, mix the melted butter, granulated sugar, and brown sugar until well combined.
- Add the eggs and vanilla extract, and mix until smooth.
- In another bowl, whisk together the flour, baking soda, and salt. Gradually add the dry ingredients to the wet ingredients, mixing until just combined.
- Fold in the chocolate chips.
- Spread the cookie dough evenly in the prepared skillet.
- Bake for 25-30 minutes, or until the edges are golden brown and the center is set but still gooey.
- Allow the cookie to cool in the skillet for about 10 minutes before serving.
Serving Suggestions
One of the best parts about a skillet cookie is its versatility. Serve it warm with a scoop of vanilla ice cream for a classic dessert. You can also drizzle it with chocolate or caramel sauce for an extra indulgence. For a festive touch, sprinkle some crushed candy canes or holiday-themed sprinkles on top.
Tips for Perfecting Your Skillet Cookie
- Don’t Overmix: Overmixing the dough can result in a tough cookie. Mix until just combined.
- Use Quality Ingredients: High-quality butter and chocolate chips can make a significant difference in taste.
- Monitor Baking Time: Ovens vary, so start checking your cookie at the 20-minute mark to prevent overbaking.
- Experiment with Add-Ins: Feel free to add nuts, dried fruit, or other mix-ins to customize your cookie.
Mastering the Maillard Reaction in Cast Iron
To elevate your skillet cookie from a standard dessert to a professional-grade treat, you must leverage the thermal mass of your cast-iron skillet. Unlike thin aluminum pans, cast iron retains heat, which is essential for achieving the perfect Maillard reaction—the chemical process that creates those deep, caramelized flavors and crisp edges. For the ultimate crust, preheat your empty, greased skillet in the oven for 5-7 minutes before dropping the dough into it. You will hear a slight sizzle as the dough hits the hot surface; this immediate searing locks in the structure of the outer ring, ensuring that while the center stays molten, the edges develop a satisfying, candy-like crunch that contrasts beautifully with the soft interior.
The Science of Sugar Ratios and Texture Control
While the base recipe calls for an equal split of sugars, you can manipulate the texture of your skillet cookie by shifting this ratio. Increasing the brown sugar content introduces more molasses, which adds moisture and acidity, leading to a chewier, denser cookie that stays soft for days. Conversely, upping the granulated sugar encourages crispness and a slightly more delicate crumb. For holiday variations, consider swapping half of the brown sugar for dark muscovado sugar; this introduces a rich, toffee-like depth that pairs exceptionally well with dark chocolate chunks and sea salt. Always ensure your brown sugar is packed tightly, as the moisture content is the primary driver of the cookie’s final height and “fudge factor.”
Curating Your Mix-In Flavor Profiles
The beauty of the skillet cookie lies in its role as a blank canvas. Beyond standard chocolate chips, you can curate sophisticated flavor profiles that define a holiday theme. For a “Winter Orchard” version, fold in dried cranberries, toasted pecans, and a teaspoon of orange zest. If you prefer a “Spiced Gingerbread” aesthetic, incorporate a blend of cinnamon, ground ginger, cloves, and white chocolate chips. For those who enjoy a salty-sweet interplay, pressing pretzel chunks or potato chips into the top of the dough before baking creates an addictive texture contrast. When adding mix-ins, ensure that nuts are toasted beforehand to draw out their essential oils, significantly enhancing the overall aroma of the finished dessert.
Troubleshooting Oven Hot Spots and Uneven Baking
Large-format cookies are notoriously sensitive to the specific airflow of your home oven. If your oven has a tendency to bake unevenly, rotate the skillet 180 degrees exactly halfway through the baking time. If you notice the edges darkening too rapidly while the center remains raw, create a “foil shield” by cutting a ring of aluminum foil and placing it over the outer edge of the cookie for the final ten minutes of baking. This technique allows the center to continue setting without turning the circumference into charcoal. Furthermore, if you are using a convection setting, remember to lower your oven temperature by 25°F (15°C) to prevent the top from sealing before the middle has had a chance to rise and set properly.
Advanced Temperature Management for Ingredient Integration
The temperature of your ingredients is the silent variable in successful baking. While the recipe calls for melted butter, the temperature of that butter matters immensely. If the butter is hot when it hits the sugars, it will dissolve them too quickly, leading to a greasy, flat cookie that spreads uncontrollably. Allow your melted butter to cool to room temperature until it reaches a consistency resembling heavy cream before mixing. Additionally, ensure your eggs are at room temperature. Cold eggs introduced to melted butter can cause the fat to solidify prematurely, resulting in clumps that impede a smooth, uniform dough. A quick trick for room-temperature eggs: place them in a bowl of warm (not hot) water for five minutes before cracking.
The Art of the “Post-Bake” Finishing Touch
A skillet cookie is never truly finished when it leaves the oven; the finishing touches are what make it a centerpiece. Once removed from the oven, the cookie should rest, but you can use this time to add aesthetic and flavor layers. Sprinkle a pinch of flaky sea salt (like Maldon) over the surface while the chocolate is still molten; the salt cuts through the sweetness and highlights the cocoa notes. If you are serving this for a holiday gathering, a light dusting of powdered sugar through a fine-mesh sieve gives it a “snow-dusted” appearance. For a truly decadent presentation, place a square of high-quality dark chocolate in the center immediately upon pulling the skillet from the oven, allowing the residual heat to create a glossy, tempered pool of chocolate that serves as a focal point for the dish.
FAQ
Can I use a cast-iron skillet for this recipe?
Yes, a cast-iron skillet is perfect for baking a skillet cookie. Just make sure it is well-seasoned to prevent sticking.
Can I make the dough ahead of time?
Absolutely! You can prepare the dough up to 24 hours in advance. Store it in the refrigerator and let it come to room temperature before baking.
What if I don’t have a skillet?
If you don’t have a skillet, you can use a round cake pan or a pie dish. The baking time may vary slightly, so keep an eye on it.
Can I make a gluten-free version of this skillet cookie?
Yes, you can substitute the all-purpose flour with a gluten-free flour blend. Ensure the other ingredients you use are also gluten-free.
How do I store leftovers?
Store any leftovers in an airtight container at room temperature for up to three days. You can also freeze the cookie for up to three months.
Related posts:
 Guilt-Free Cinnamon Roll Recipe
 Safe Raw Cookie Dough Recipe
 Essential Baking Tools for Your Kitchen
 Hu Kitchen’s New Milk Chocolate Adventure
 This 4-Ingredient Vegan Edible Cookie Dough Is So Good It Should Be Illegal
 Healthy Homemade Peanut Butter Cup Recipe
 18 Christmas Cookie Recipes That Are Surprisingly Healthy
 Dark Chocolate Popcorn Bark: A Smart and Indulgent Snack