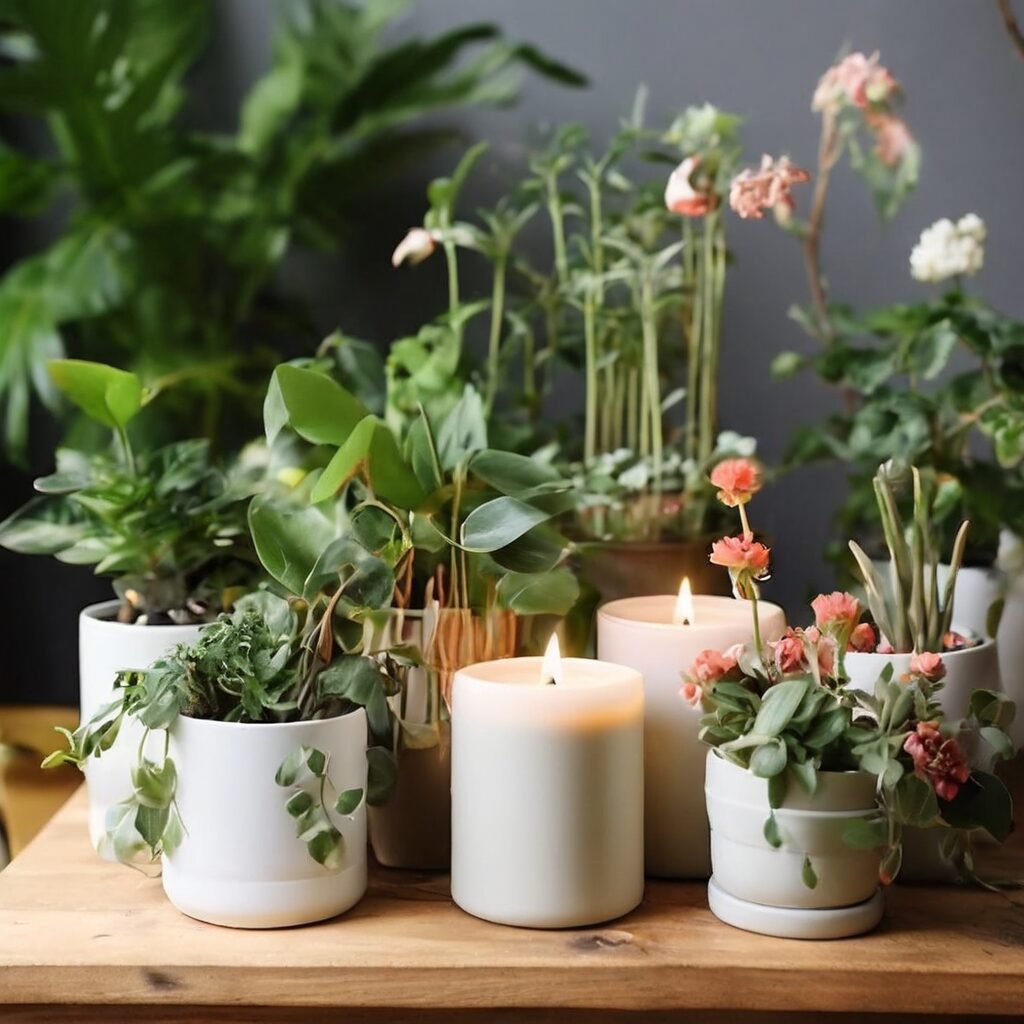
Introduction to Upcycling
In the spirit of sustainable living, upcycling has become a popular trend. Not only does it reduce waste, but it also allows for creative expression. One fantastic upcycling project is transforming empty candles into chic planters. This guide will walk you through the process step-by-step.
Why Upcycle Empty Candles?
Empty candle containers often have beautiful designs and are made from durable materials. Instead of throwing them away, you can repurpose them into something both functional and aesthetically pleasing. Upcycling helps to conserve resources and reduce the environmental impact of waste.
Materials Needed
- Empty candle containers
- Potting soil
- Small plants or succulents
- Drainage stones or pebbles
- Activated charcoal (optional)
- Gardening gloves
Step-by-Step Guide
Step 1: Clean the Candle Containers
Begin by cleaning the empty candle containers. Remove any leftover wax by placing the container in the freezer for a few hours. Once the wax hardens, it should easily pop out. Wash the container with warm, soapy water and let it dry completely.
Step 2: Prepare for Planting
Add a layer of drainage stones or pebbles at the bottom of the container. This helps to prevent water from stagnating and damaging the plant’s roots. For additional protection, you can add a thin layer of activated charcoal on top of the stones, which helps to filter the water.
Step 3: Add Potting Soil
Fill the container with potting soil, leaving some space at the top for the plant. Make sure to choose a soil type that is appropriate for the plant you intend to use.
Step 4: Planting
Gently remove the plant from its original pot and place it into the new container. Fill in any gaps with additional soil and press lightly to secure the plant in place. Water the plant thoroughly after planting.
Step 5: Decorate and Display
Feel free to decorate your new planter with paint, ribbons, or other embellishments. Place your chic new planter in a spot with appropriate light conditions for your plant, and enjoy your upcycled creation!
Benefits of Upcycling Candles into Planters
- Reduces waste and promotes sustainability
- Creates unique and personalized home décor
- Saves money by repurposing items
- Provides a fun and creative project
Advanced Wax Removal Techniques for Stubborn Residue
While the freezer method is effective for most waxes, some stubborn soy or paraffin blends leave a greasy film or wick-tab adhesive that ruins the soil environment. To achieve a pristine container, try the boiling water method. Place the candle jar on a heat-resistant surface and carefully pour boiling water into the vessel. The heat will melt the remaining wax, causing it to float to the surface. As the water cools, the wax disk will solidify at the top, allowing for easy removal. To tackle the adhesive backing of the wick holder, use a cotton swab dipped in rubbing alcohol or a specialized citrus-based degreaser. This step is critical; if adhesive remains, it can trap moisture against the glass, potentially leading to bacterial growth that can cause root rot in delicate plants.
Selecting the Right Substrate for Non-Draining Vessels
Because most candle jars lack drainage holes, you are effectively creating a terrarium-style environment. Standard potting soil is often too dense and retains too much moisture for these conditions. Instead, mix your own substrate by combining one part potting soil with one part perlite or coarse pumice. This increases porosity, allowing oxygen to reach the roots even when drainage is limited. For extra insurance, incorporate a layer of horticultural grit or expanded clay pebbles at the base. If you are planting moisture-loving tropicals versus drought-tolerant succulents, adjust the ratio; use more peat-free compost for moisture retention in ferns, but prioritize grit and sand for desert species to prevent the ‘swamp effect’ that kills root systems in closed vessels.
Managing Humidity and Airflow in Glass Enclosures
Glass candle containers act as mini-greenhouses, which can lead to fungal issues if not managed correctly. If you notice condensation constantly clinging to the interior walls, your plant is likely suffering from poor airflow. To mitigate this, choose plants that thrive in high humidity, such as Fittonia (nerve plants) or small varieties of Pilea. If the glass becomes foggy, it is a sign that the soil is too wet or the ambient temperature is fluctuating too wildly. Avoid placing your upcycled planters in direct, harsh sunlight, as the glass can magnify heat, effectively ‘cooking’ the roots. Instead, opt for bright, indirect light to maintain a stable internal climate and prevent the rapid evaporation-condensation cycle that leads to mold growth on the soil surface.
Strategic Root Pruning for Longevity
When transitioning a plant into a candle jar, you are working with a finite, non-expanding space. To keep your plants healthy for the long term, learn the art of root pruning. If a plant has outgrown its nursery pot but you want to keep it in a specific candle jar, gently tease the roots apart and trim back the longest, circling roots by about 10-20% using sterilized shears. This encourages a denser, fibrous root system that is better suited for smaller containers. Additionally, periodically lifting the plant and refreshing the top inch of soil will provide a nutrient boost without needing to repot into a larger vessel, ensuring your upcycled project remains a permanent piece of your home decor.
Customizing Aesthetics with Glass Etching and Decoupage
Beyond simple paint, you can transform the exterior of your candle containers to match any interior design style. Glass etching cream is a sophisticated way to create a frosted look that obscures the soil line, giving the planter a high-end, store-bought appearance. Apply a stencil to the clean, dry glass, dab on the etching cream, and rinse after the manufacturer’s recommended time. For a bohemian flair, use decoupage medium to adhere pressed flowers, gold leaf, or thin patterned paper to the exterior. Always apply a clear, water-resistant sealant over your decorations to ensure that accidental water spills during maintenance do not cause the paper to peel or the paint to chip, preserving the ‘chic’ factor of your upcycled piece.
Troubleshooting Common Planter Failures
The most common failure in candle-jar planting is ‘wet feet.’ If you notice the leaves yellowing or becoming mushy, check the bottom layer of your container. If you see standing water, you have overwatered. Since you cannot tip the jar to drain it, use a turkey baster or a large syringe to carefully suction excess water out from the drainage layer. If the soil smells sour or earthy in an unpleasant way, that is a sign of root rot caused by anaerobic bacteria. In this case, you must remove the plant, rinse the roots, trim away black or mushy sections, and repot into fresh, dry substrate. Preventive maintenance is easier than recovery; always use a moisture meter or a simple wooden skewer inserted to the bottom of the jar to verify that the drainage layer is not oversaturated before adding more water.
FAQs
1. Can I use any type of candle container?
Most candle containers can be upcycled, but it’s best to use containers made of durable materials like glass or ceramic. Avoid using plastic containers as they may not be sturdy enough for plants.
2. What types of plants are best for small containers?
Succulents, cacti, and small houseplants like pothos or spider plants are ideal for upcycled candle containers. These plants typically require minimal soil and have shallow root systems.
3. How do I ensure proper drainage in my new planter?
Adding a layer of drainage stones or pebbles at the bottom of the container is crucial. This prevents water from pooling at the bottom and helps maintain the health of the plant’s roots.
4. Can I paint the candle container before planting?
Yes, you can paint or decorate the container before planting. Just make sure any paint or decorations are dry and secure before adding soil and plants.
5. How often should I water my upcycled planter?
Watering frequency depends on the type of plant and the environment. Generally, succulents and cacti require less frequent watering, while other houseplants may need more regular watering. Always check the soil moisture before watering.
Related posts:
 Essential Tips for Better Garden Health
 Guide to Upcycled Beauty
 Second Life Magic: Turn Finished Candles Into Morning Coffee Companions
 Plant Drainage Solutions
 An Easy DIY Planter Upcycled from a Cardboard Box
 Upcycled Products: Turning Waste into Treasure
 Growing Peanuts at Home: A Fun and Rewarding Gardening Project
 How to Propagate Succulents